
How Microsoft Power Platform is helping to modernize and enable...
In this webinar, our experts showcase a variety of demo use cases of how different components of the...
In today’s blog post, we’ll be discussing reports in Business Central. Specifically, we’ll cover the creation of a client report definition (RDLC) report. Enjoy!
When we create a new report for Business Central, there are two things we must consider:
1. Defining the report dataset of data items and columns
2. Designing the report layout.
These steps will show how to create a simple report based on an RDL layout. A report is composed of the following items:
Now we will create an AL report in in Microsoft Dynamics 365 Business Central. In Visual Studio Code, create a new project using the AL:Go! command:

Now create a new file, for example: CustomerListReport.al
In the CustomerListReport.al file, use the treport snippet to create a report and then change the ID, Name and add fields and an option page, as in the following example:
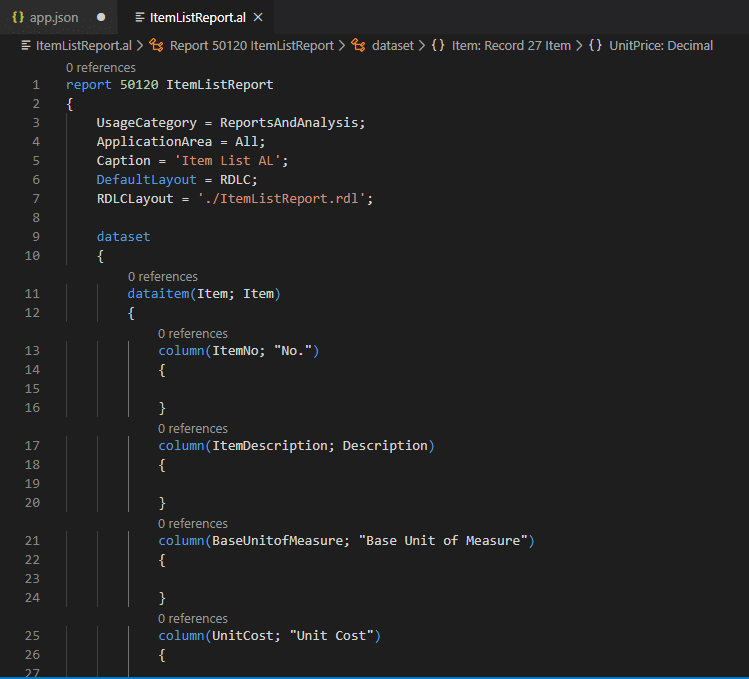
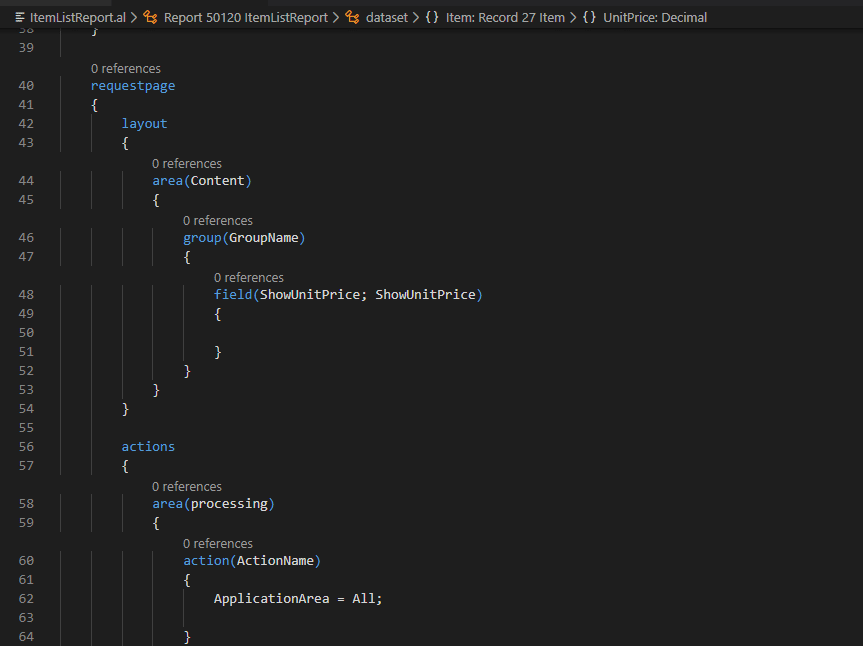
Here, we’re using fields from the Item table to build the dataset for this report. We’ve also added a variable “ShowUnitPrice.” Additionally, we also added this variable in the Request Page, which can be used to display the unit price in the report.
We defined the UsageCatagory as ReportandAnalysis, so we can search the report directly from the Search option in Business Central Client. We defined Layout as RDLC and specified the path in RDLCLayout.
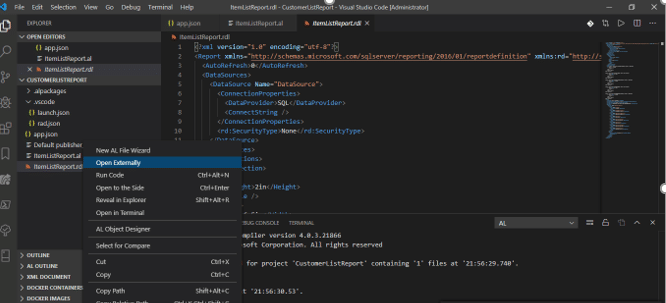
Now build the extension (Ctrl+Shift+B). The ItemListReport.rdl file will be created in the root of the current project.
Click on the ItemListReport.rdl and then right-click and select Open Externally, which will open the layout file in SQL Server Report Builder.
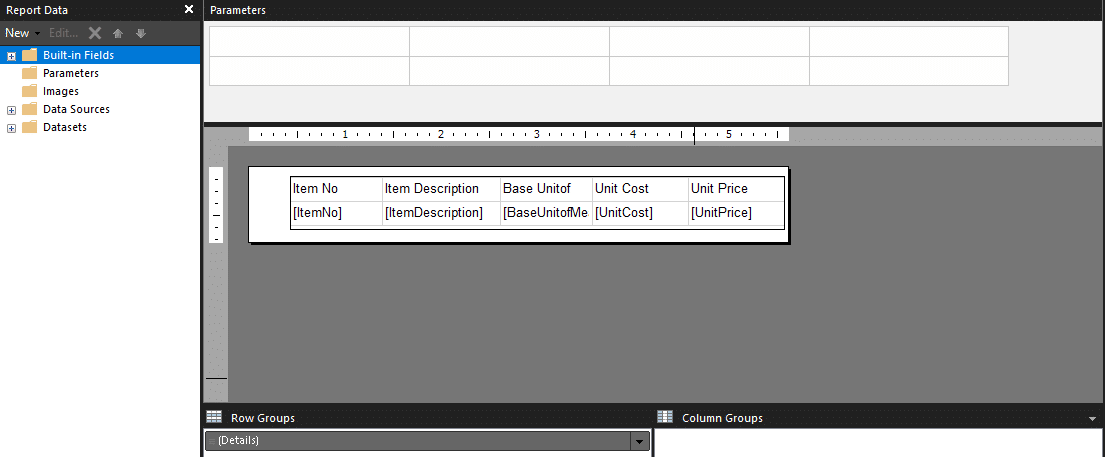
Now, add the columns from the Datasets folder into the table and save the .rdl file and add all the columns in the Report layout. Below is the sample of our report design:
SAVE and CLOSE the SQL Server Report Builder.
In Visual Studio Code, press Ctrl+F5 to compile and run the report in Dynamics 365 Business Central.
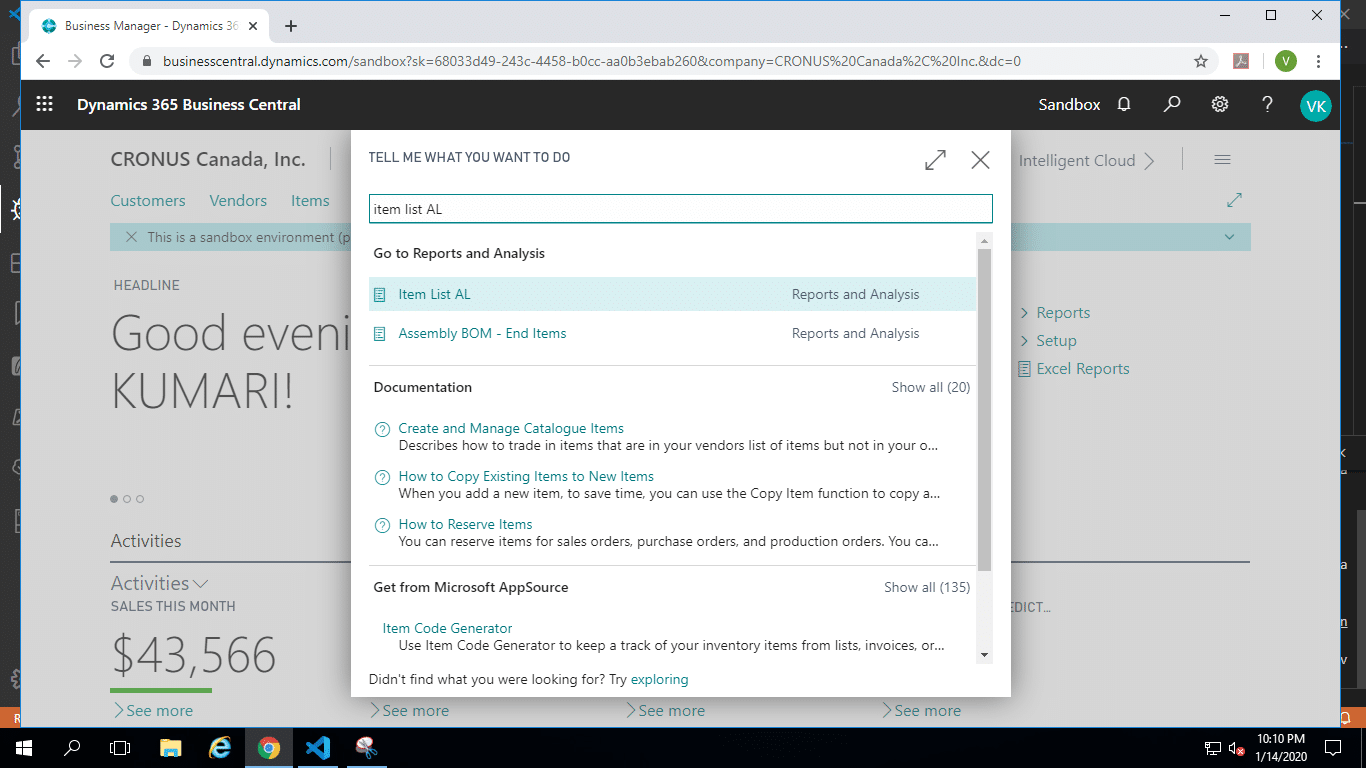
Search for ITEM LIST AL report and select Report, specify filter if required, and run the report:
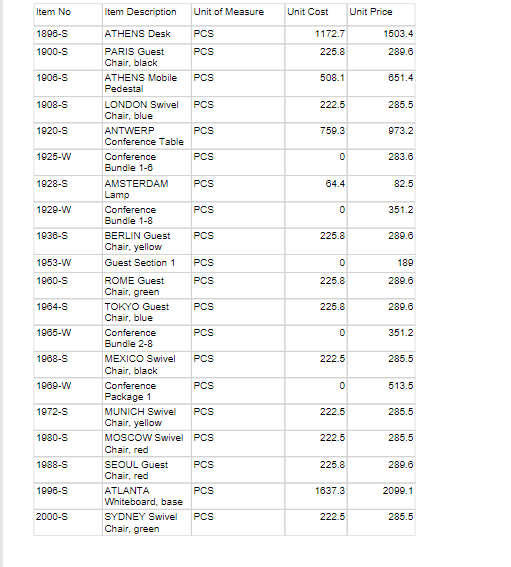
That’s it! We just quickly and easily created an RDLC report in Business Central.
Happy D365’ing!


