
How Microsoft Power Platform is helping to modernize and enable...
In this webinar, our experts showcase a variety of demo use cases of how different components of the...
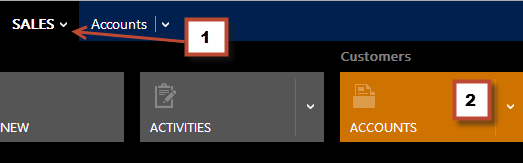
In today's blog, we'll discuss Default Views—a simple but necessary feature in CRM 2013.
To learn more about default views, follow these steps:

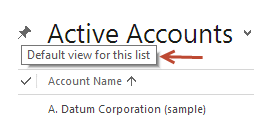 The text explains that Active Account is currently the default view for this entity.


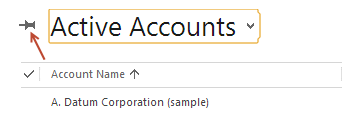
7. Now navigate back to the Active Account view and observe the change in the thumbtack's position, indicating that Active Accounts is no longer the default view for the account entity.
That's all there is to default views in CRM 2013. Hopefully this was helpful in explaining a simple but useful feature in CRM 2013!
If you're looking for more information towards how you can upgrade, check out our blog on preparing for CRM 2013.
Happy CRM'ing!


I've tried this a number of times, but the system default view stays the default and the one that I select doesn't stay selected. Any ideas on that?
Hi Naery - If you have CRM on premises check that you have UR 2 or SP1. We have seen the views not sticking, but ONLY in the initial released.