
How Microsoft Power Platform is helping to modernize and enable...
In this webinar, our experts showcase a variety of demo use cases of how different components of the...
With Power Apps Portals there are several methods of authentication that can be used that are outlined in the Portals documentation: https://docs.microsoft.com/en-us/powerapps/maker/portals/configure/configure-portal-authentication.
In today’s blog, we will show step by step how to use your Azure Active Directory to implement a B2B experience on your portal. The main benefit of implementing such an authentication method is that your organization will not be responsible for password maintenance and storage, similar to configuring it with a third-party authentication provider like Google or Facebook. This method will allow users to register with other domain accounts and in the background it will create a Microsoft account for the authentication.
Just make sure this option is compatible with your Azure Active Directory policies, as you might only have guest users for specific domains.
Here we go with the step-by-step instructions!
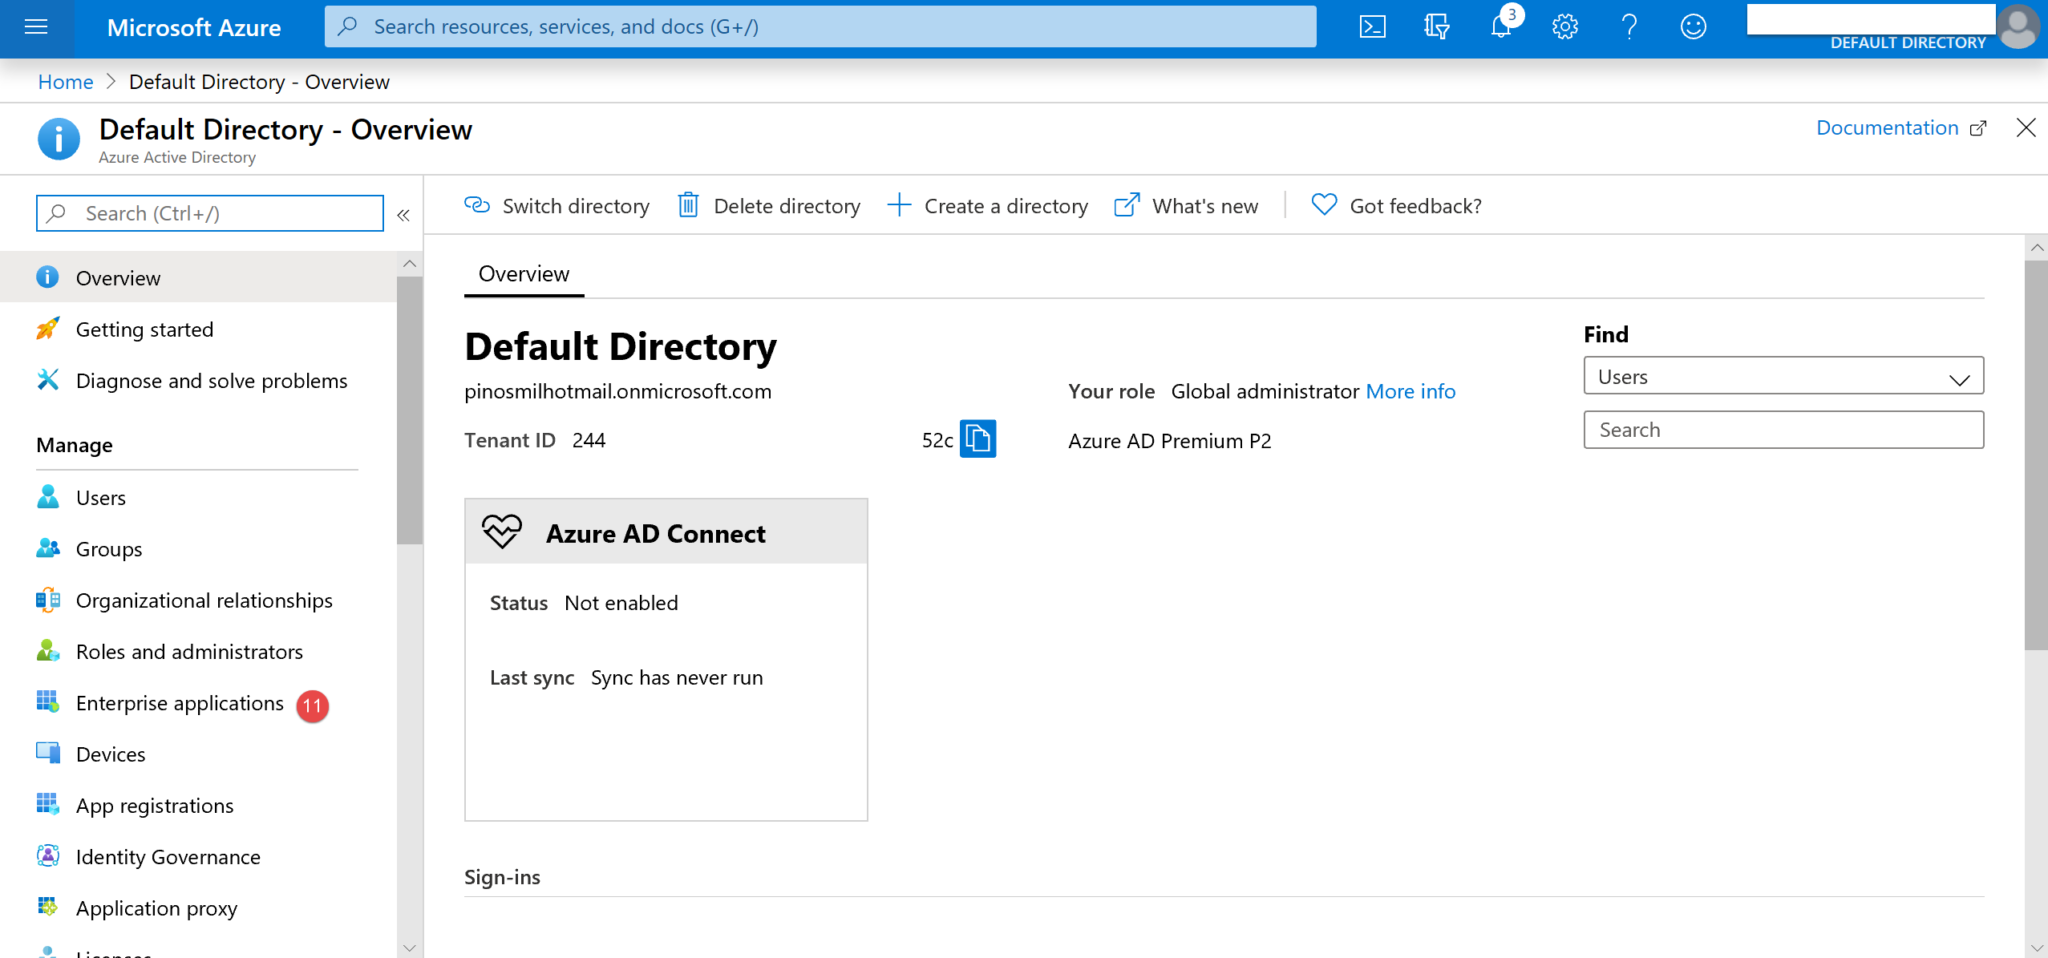
1. Sign in to portal.azure.com and click on Azure Active Directory (see 1 below).
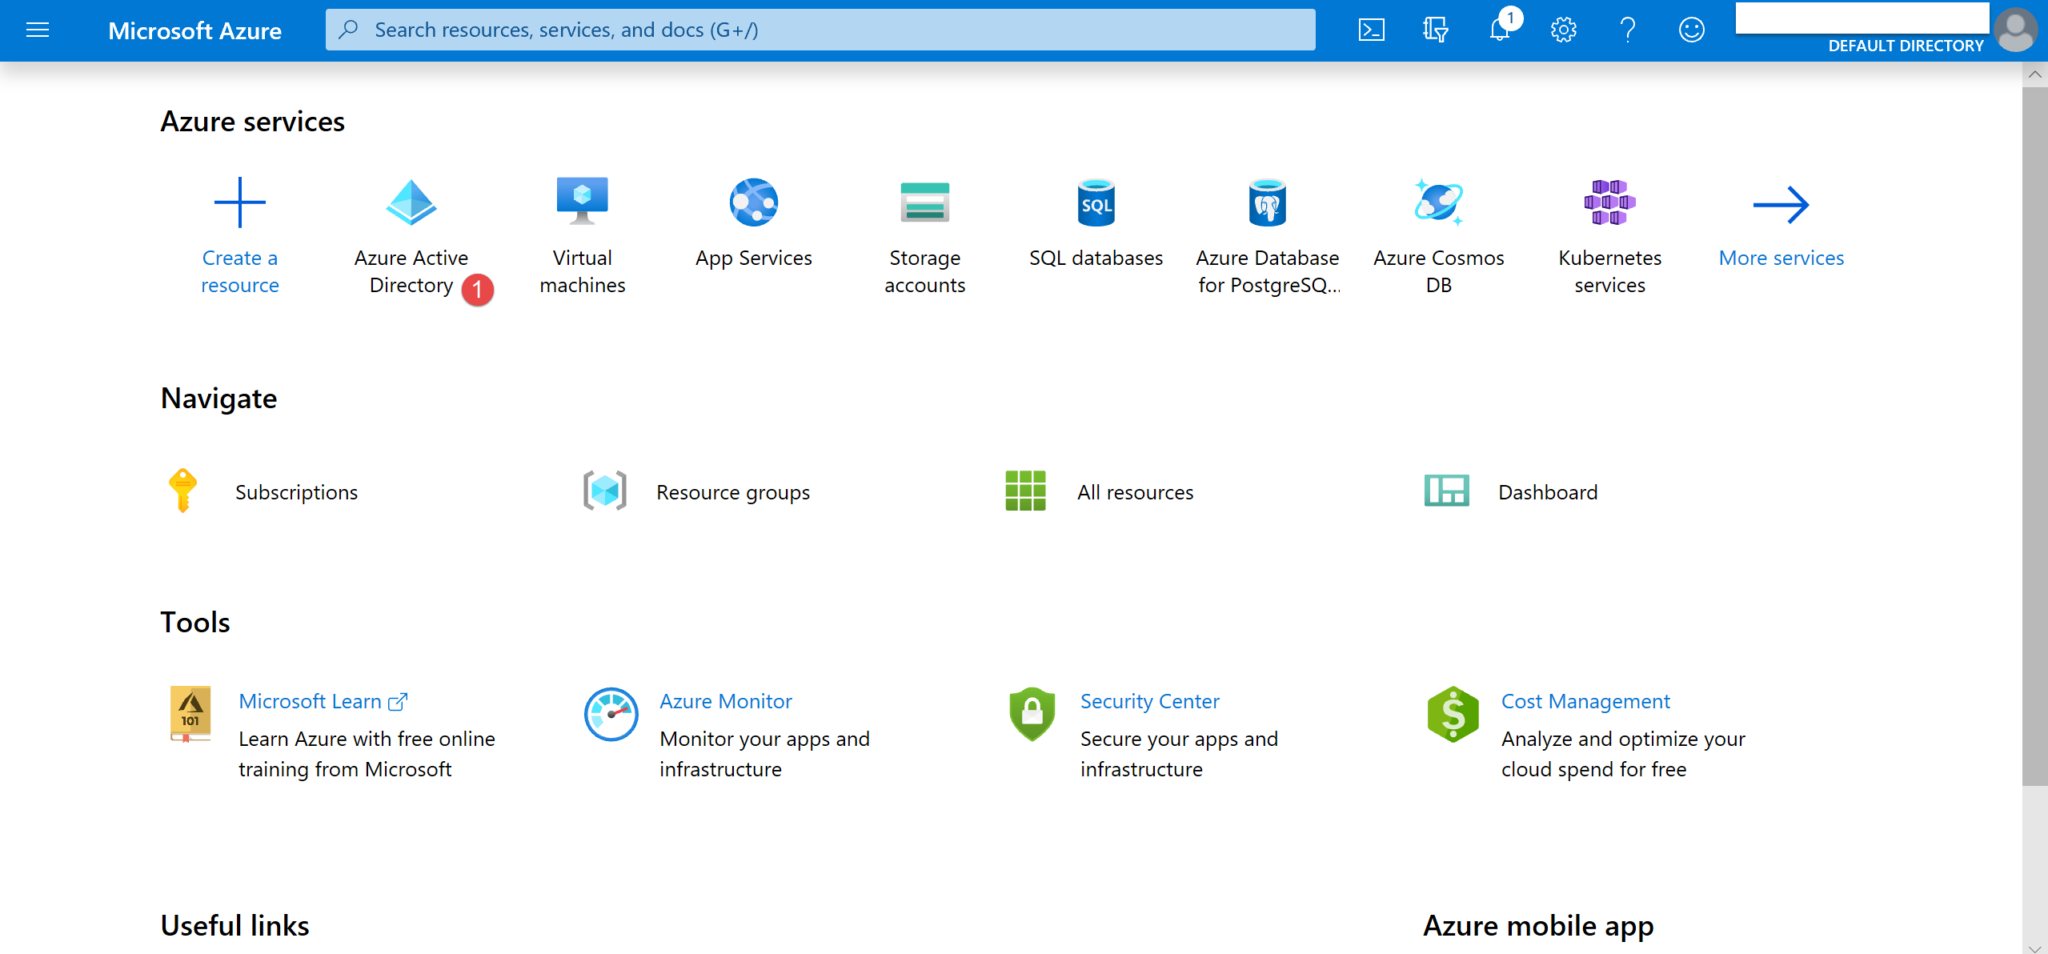
2. Click on App registrations (2).

3. Click on New registration (3).
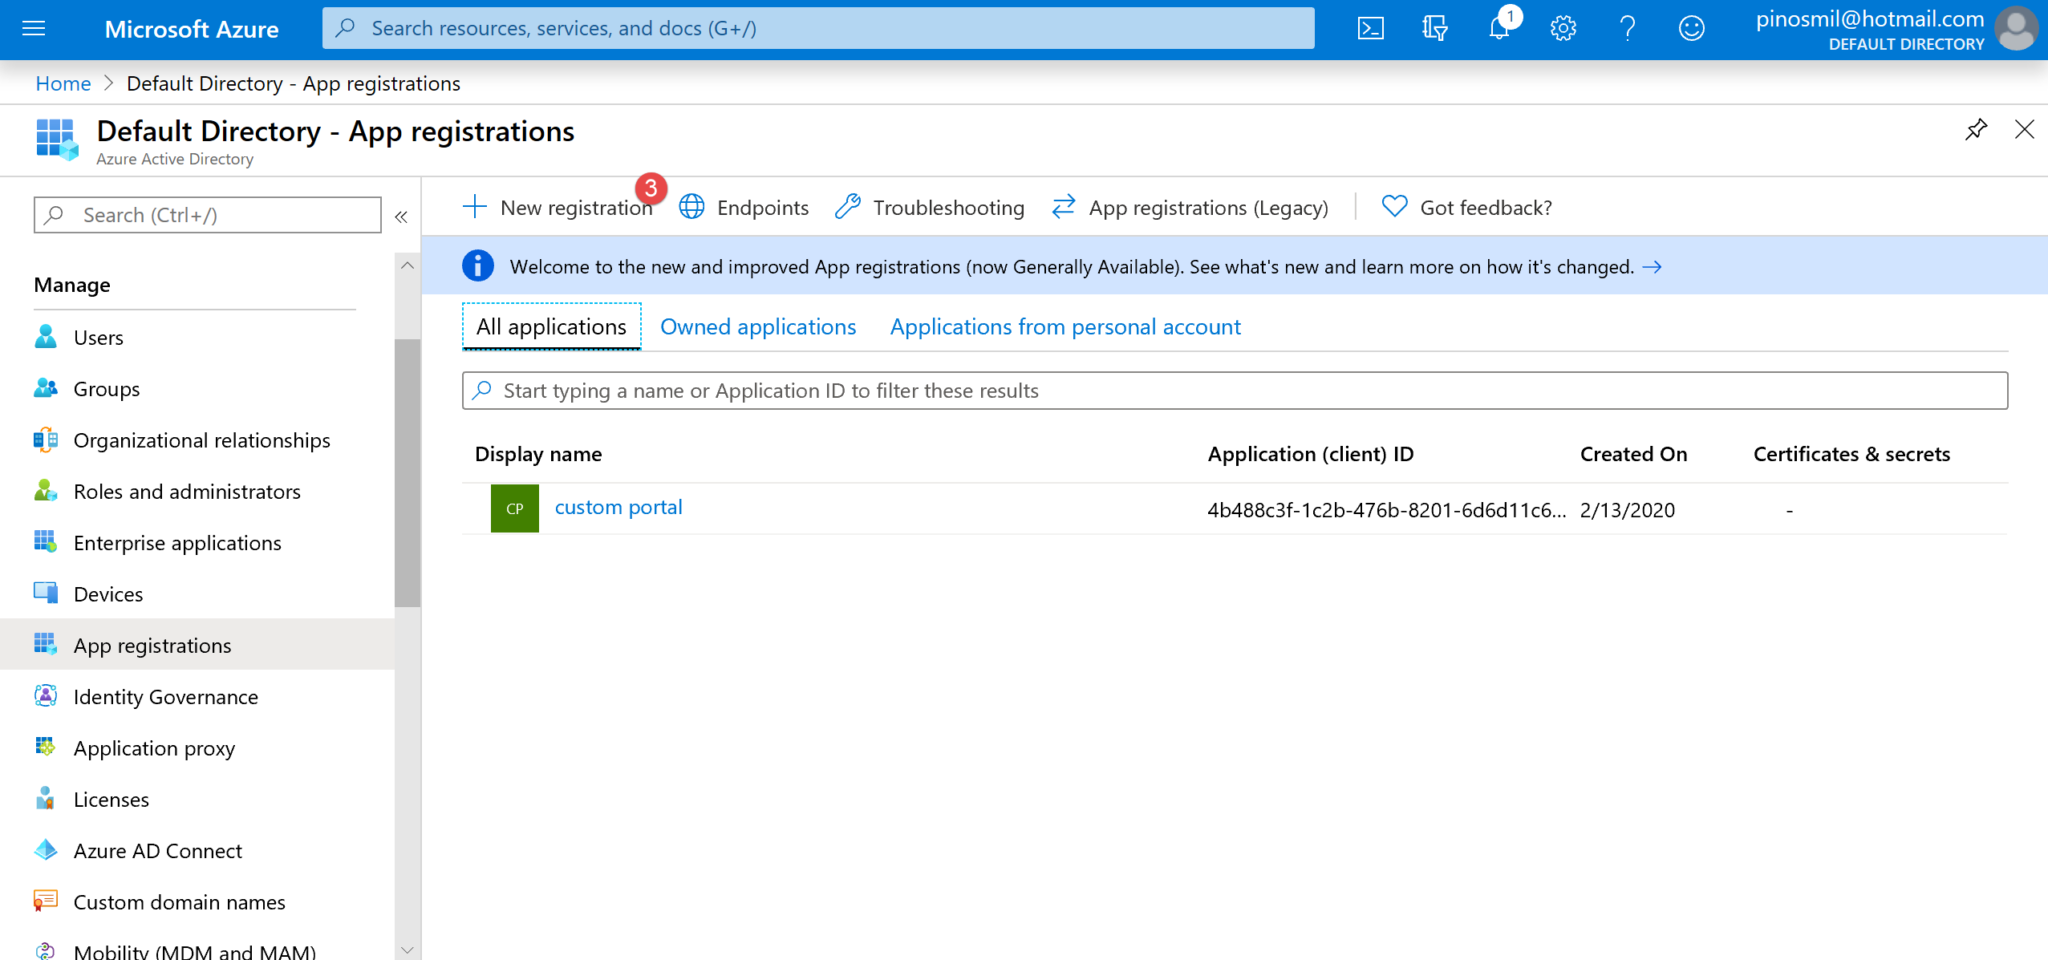
4. Give a name to your registered app (4) – in our example, we’ll use Portal App. Select the required account type (5) – and note that since you are using B2B, your best option is probably Account in any organizational directory (Any Azure AD directory - Multitenant). Click Register (6).

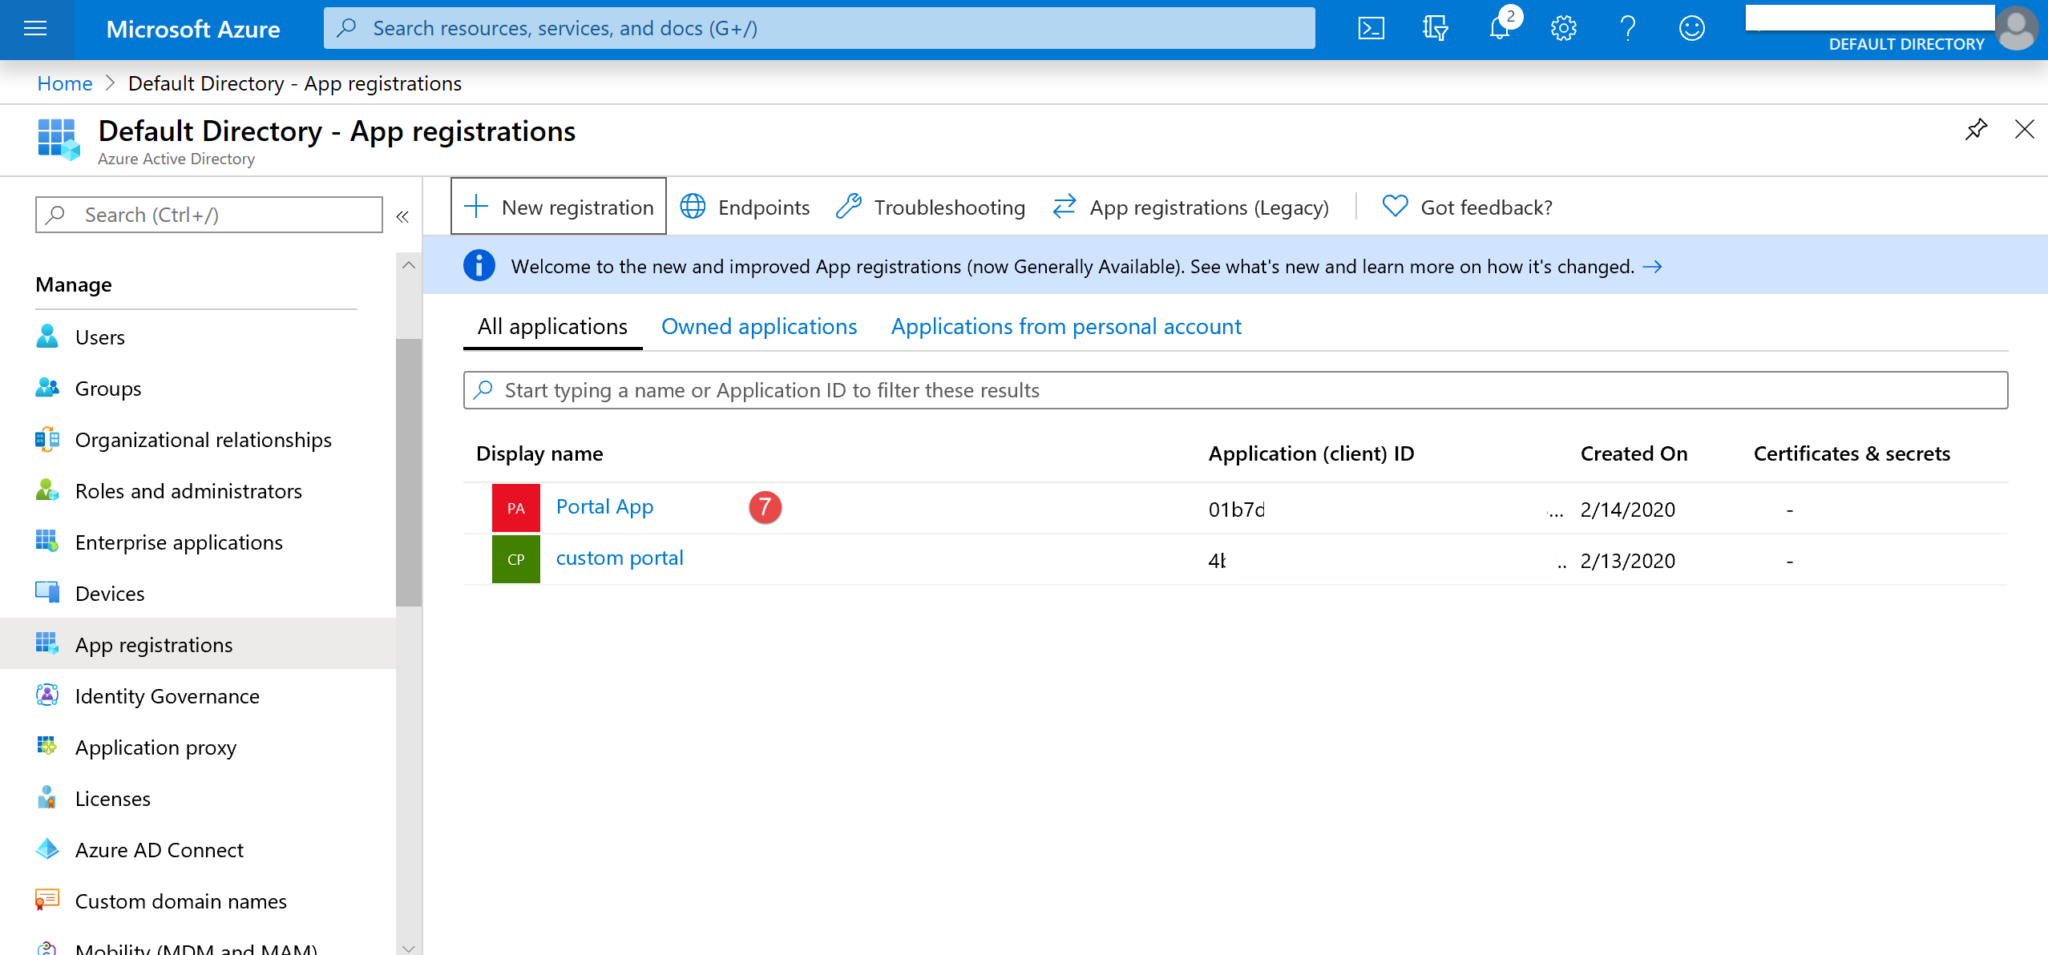
5. Now your app should be listed on the App Registrations page. Double click on your app (7).
6. Double click on the Display name of your app (8).
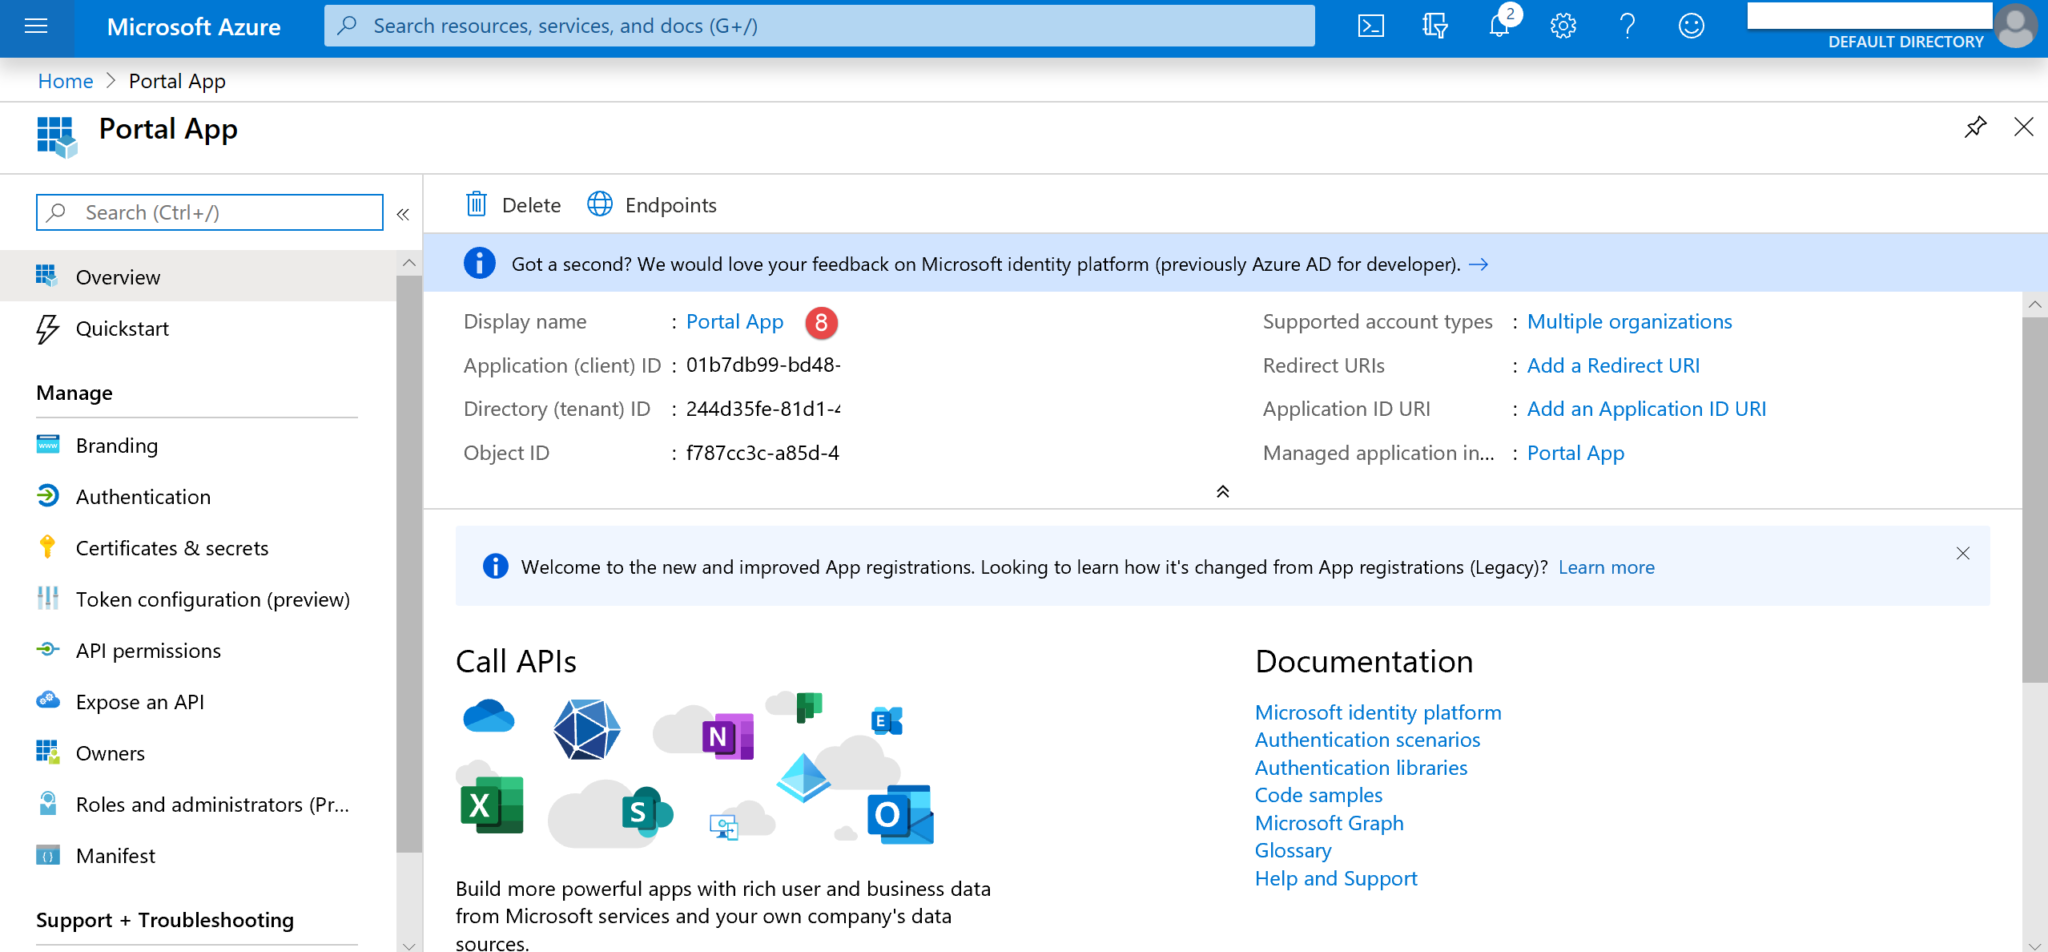
7. Fill the Home page URL field with your portal home URL (9) and click Save (10).

Now that we’ve registered the app, let’s add some users to it.
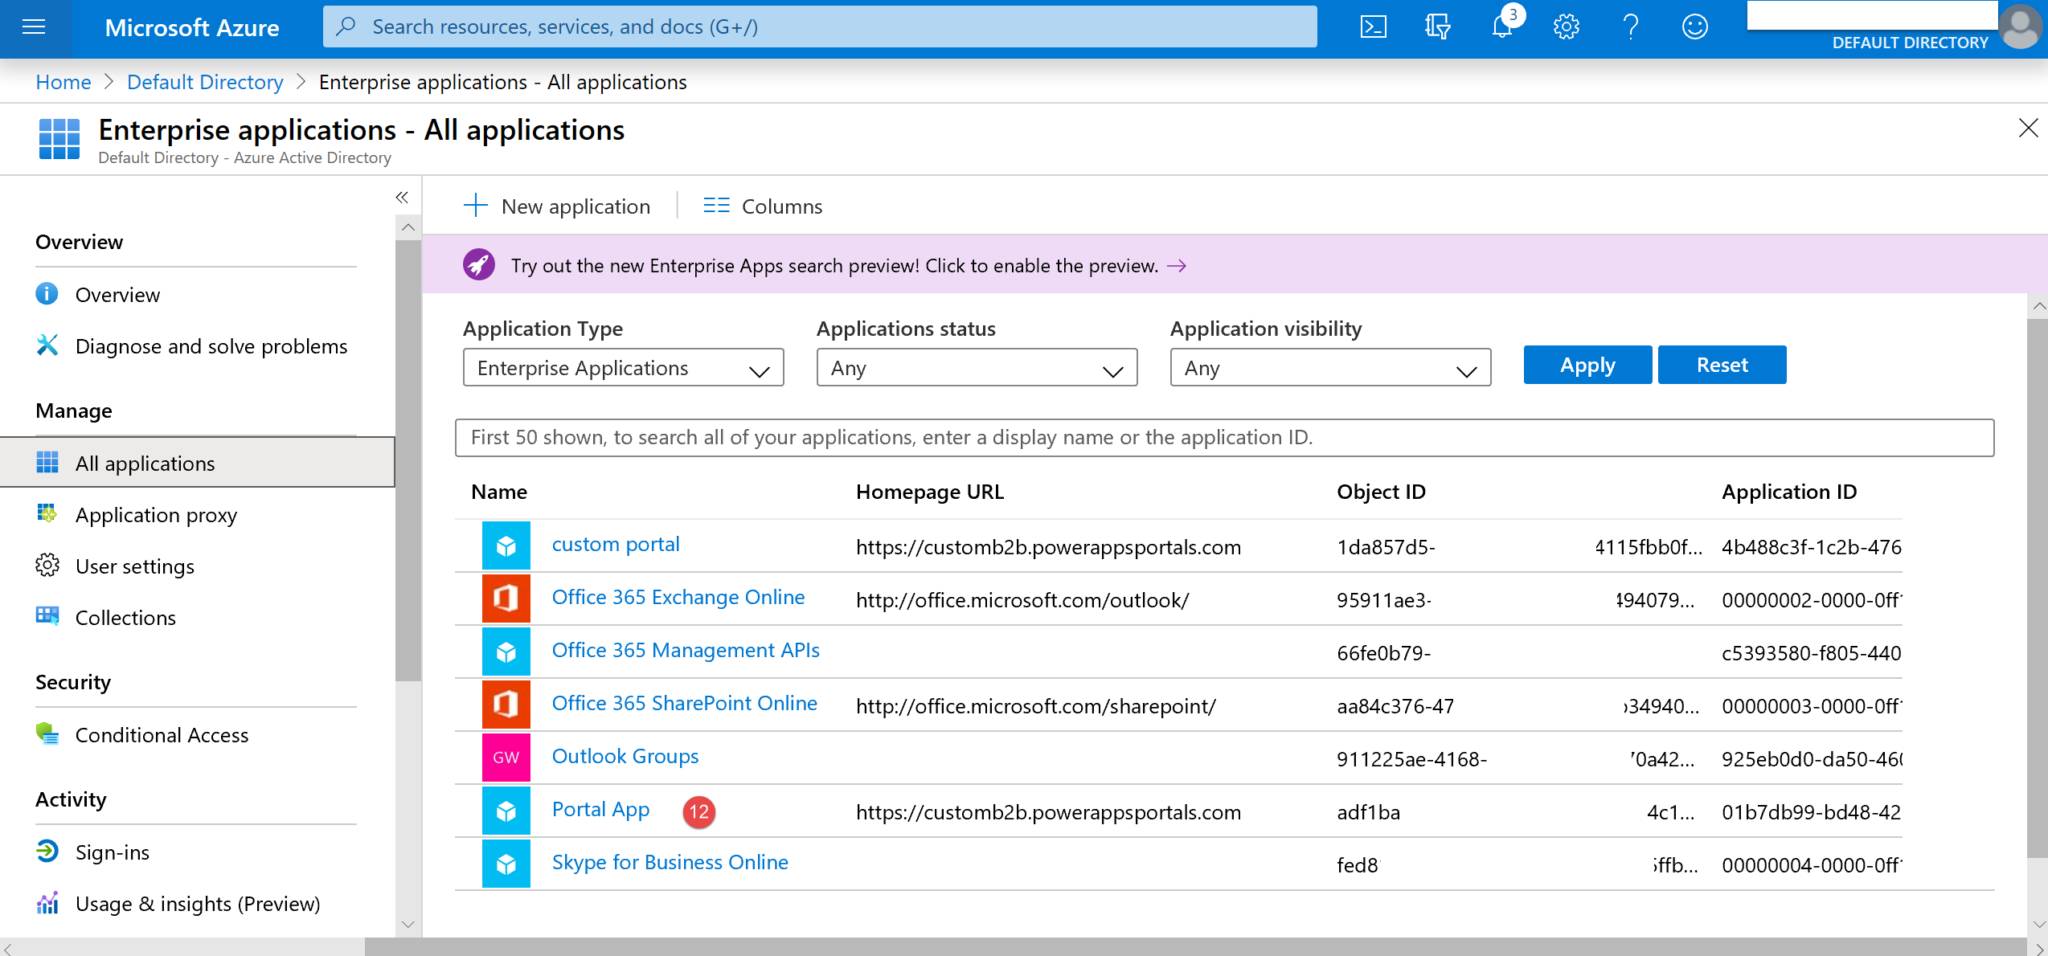
8. Navigate to Enterprise applications (11).
9. Select and open your app (12).
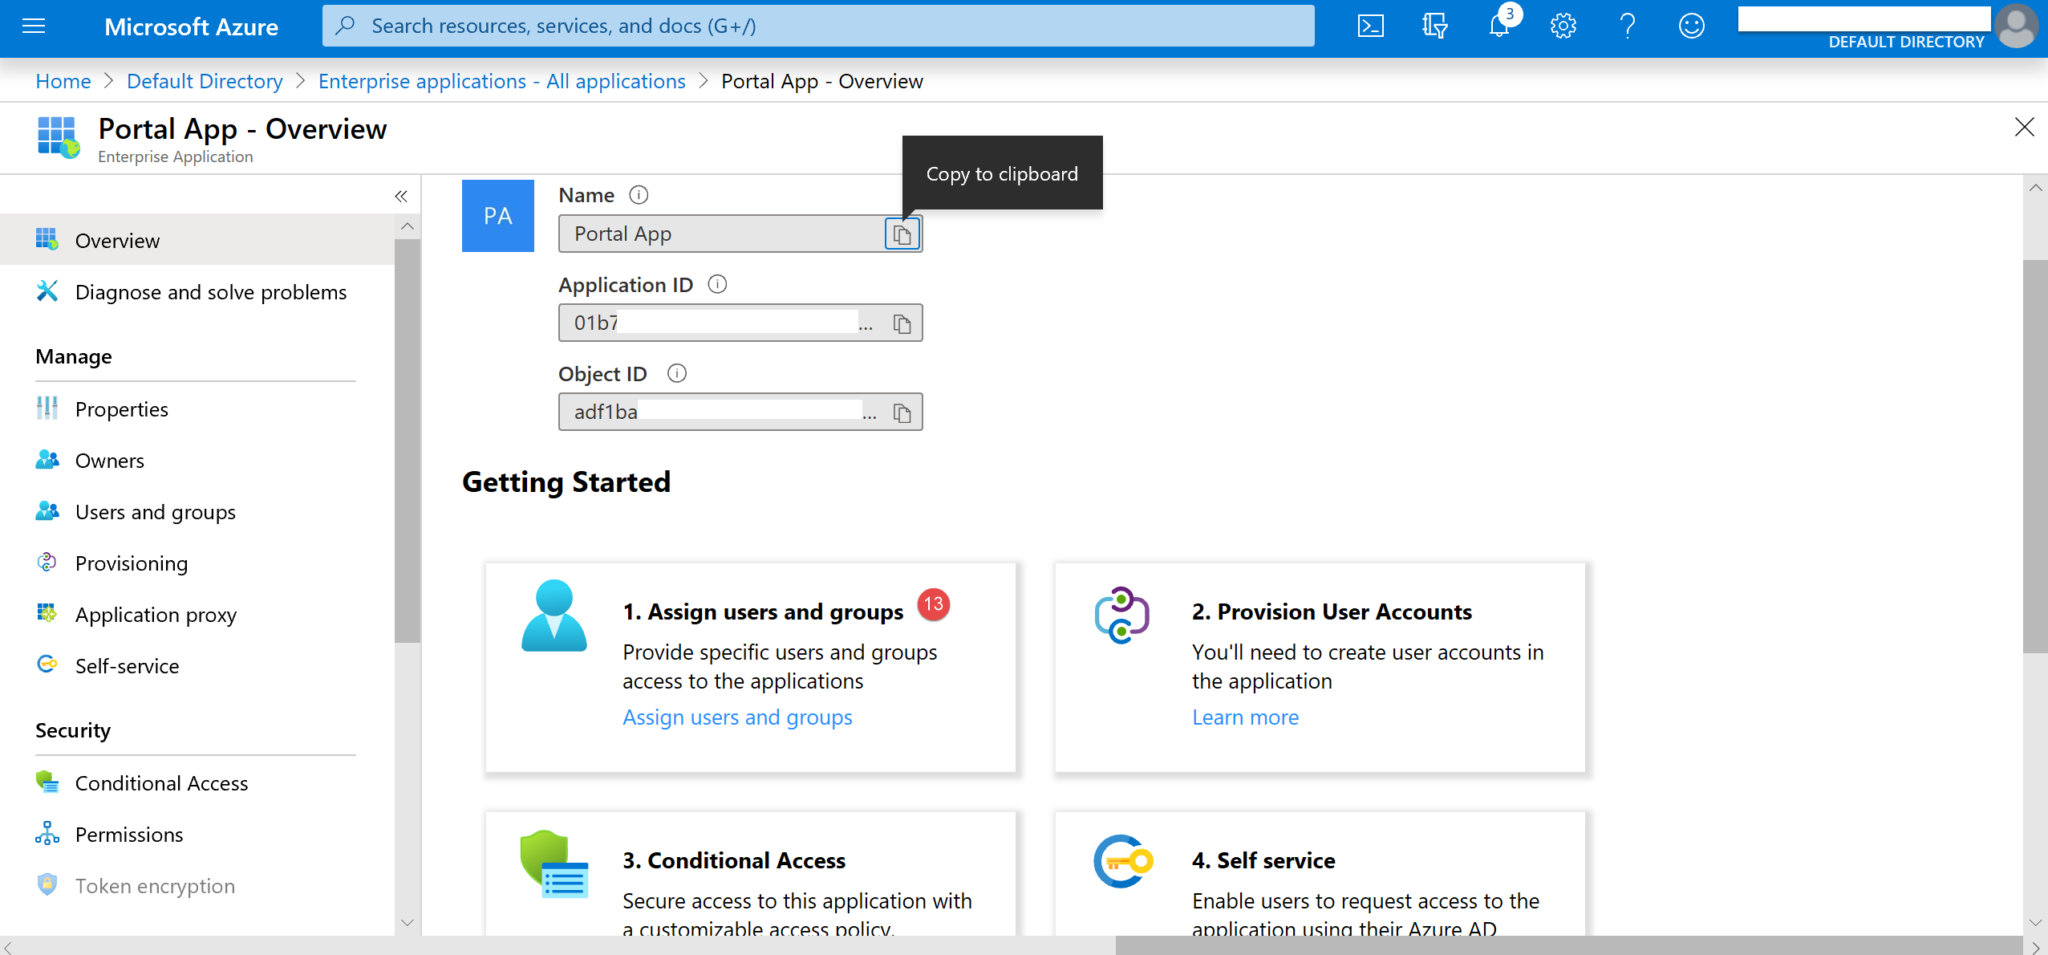
10. Click on Assign users and groups (13).
11. Click Add User (14).
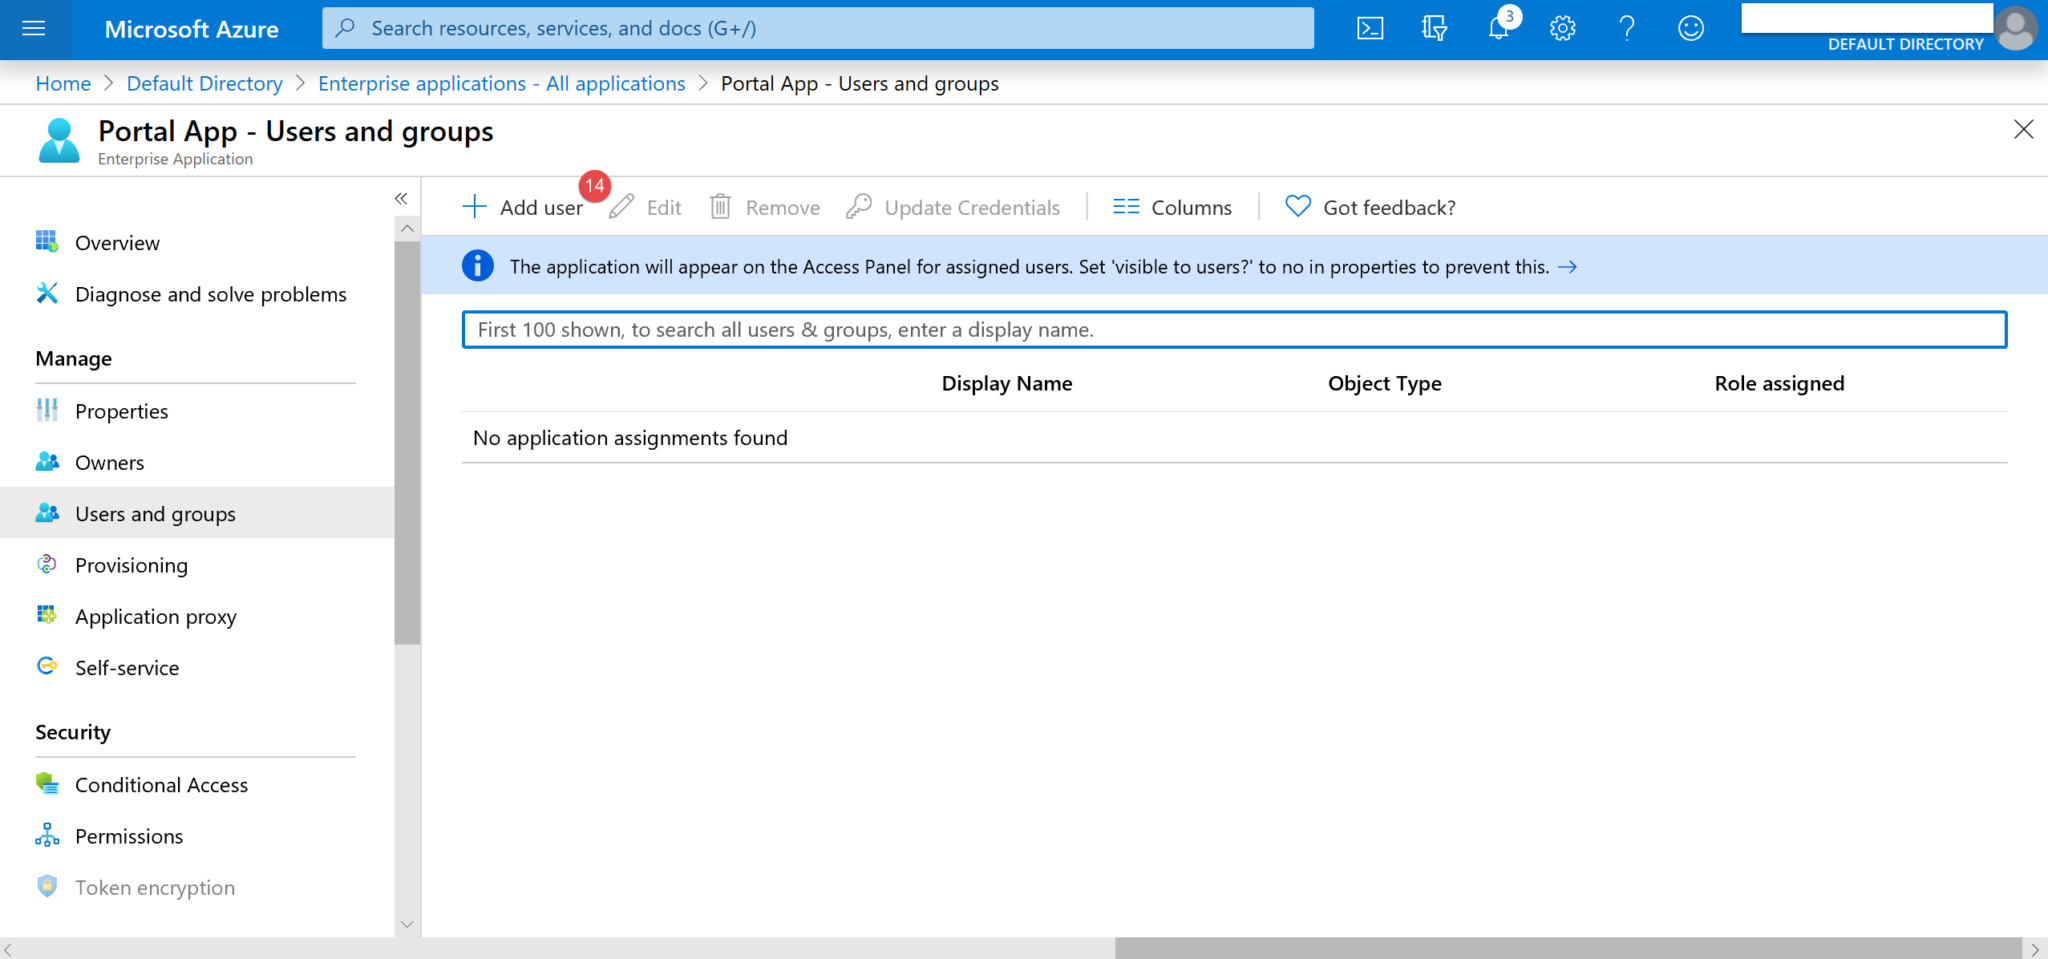
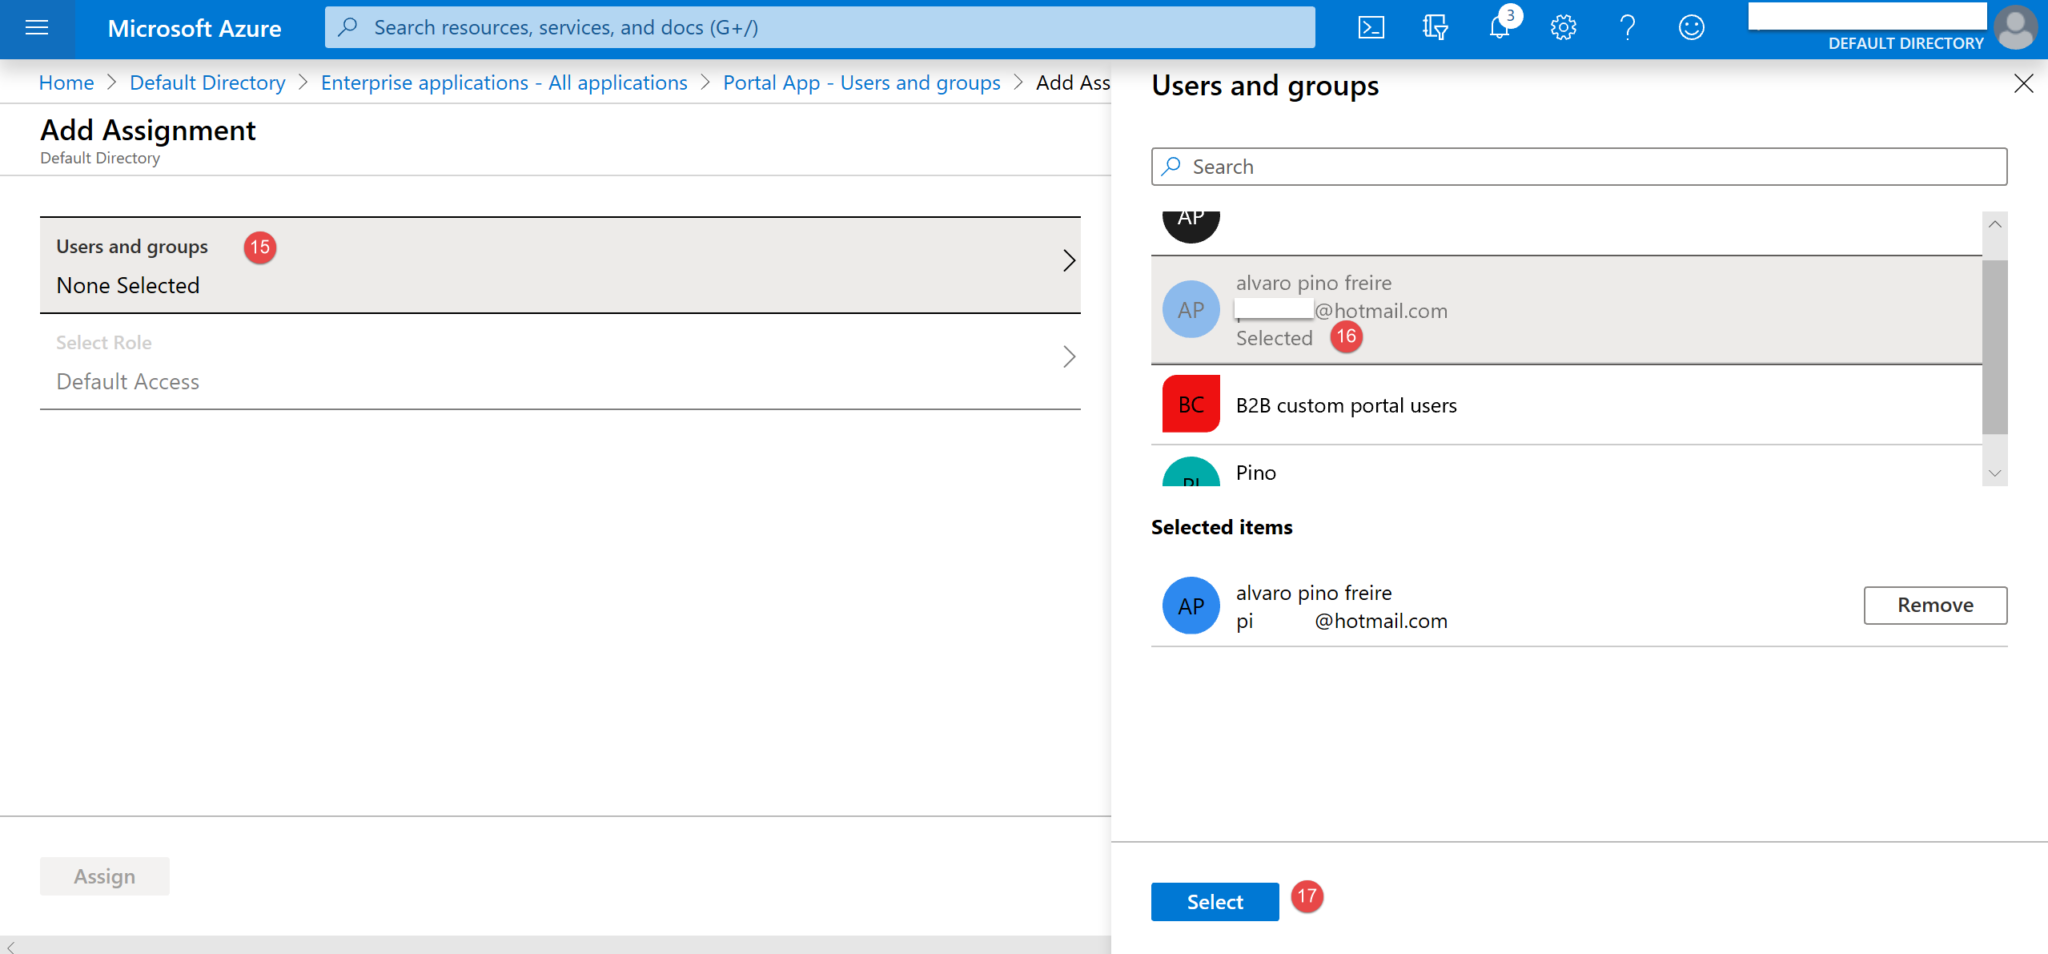
12. Click on Users and groups (15) and a panel will show on the right-hand side. Select the required user (16) and click Select (17).
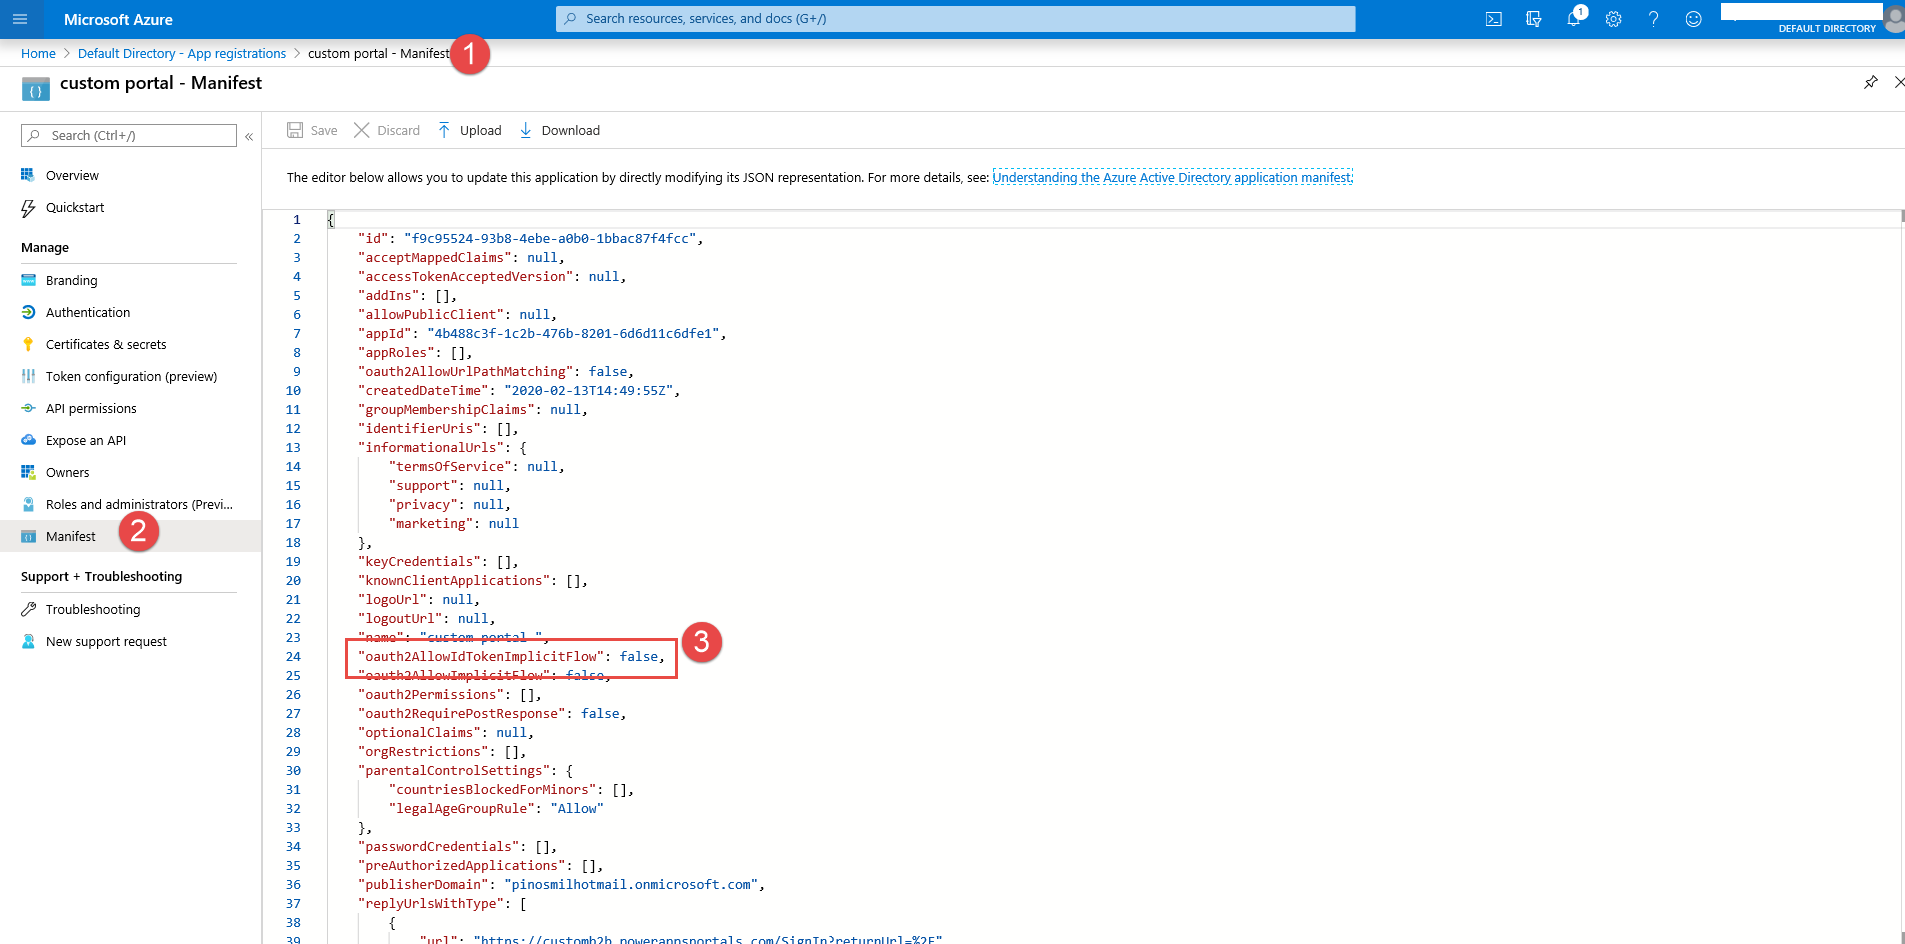
13. Further configuration to avoid errors on the Sign in: Navigate to your registered app (1), click on Manifest (2), and set the “oauth2AllowIdTokenImplicitFlow” to True.
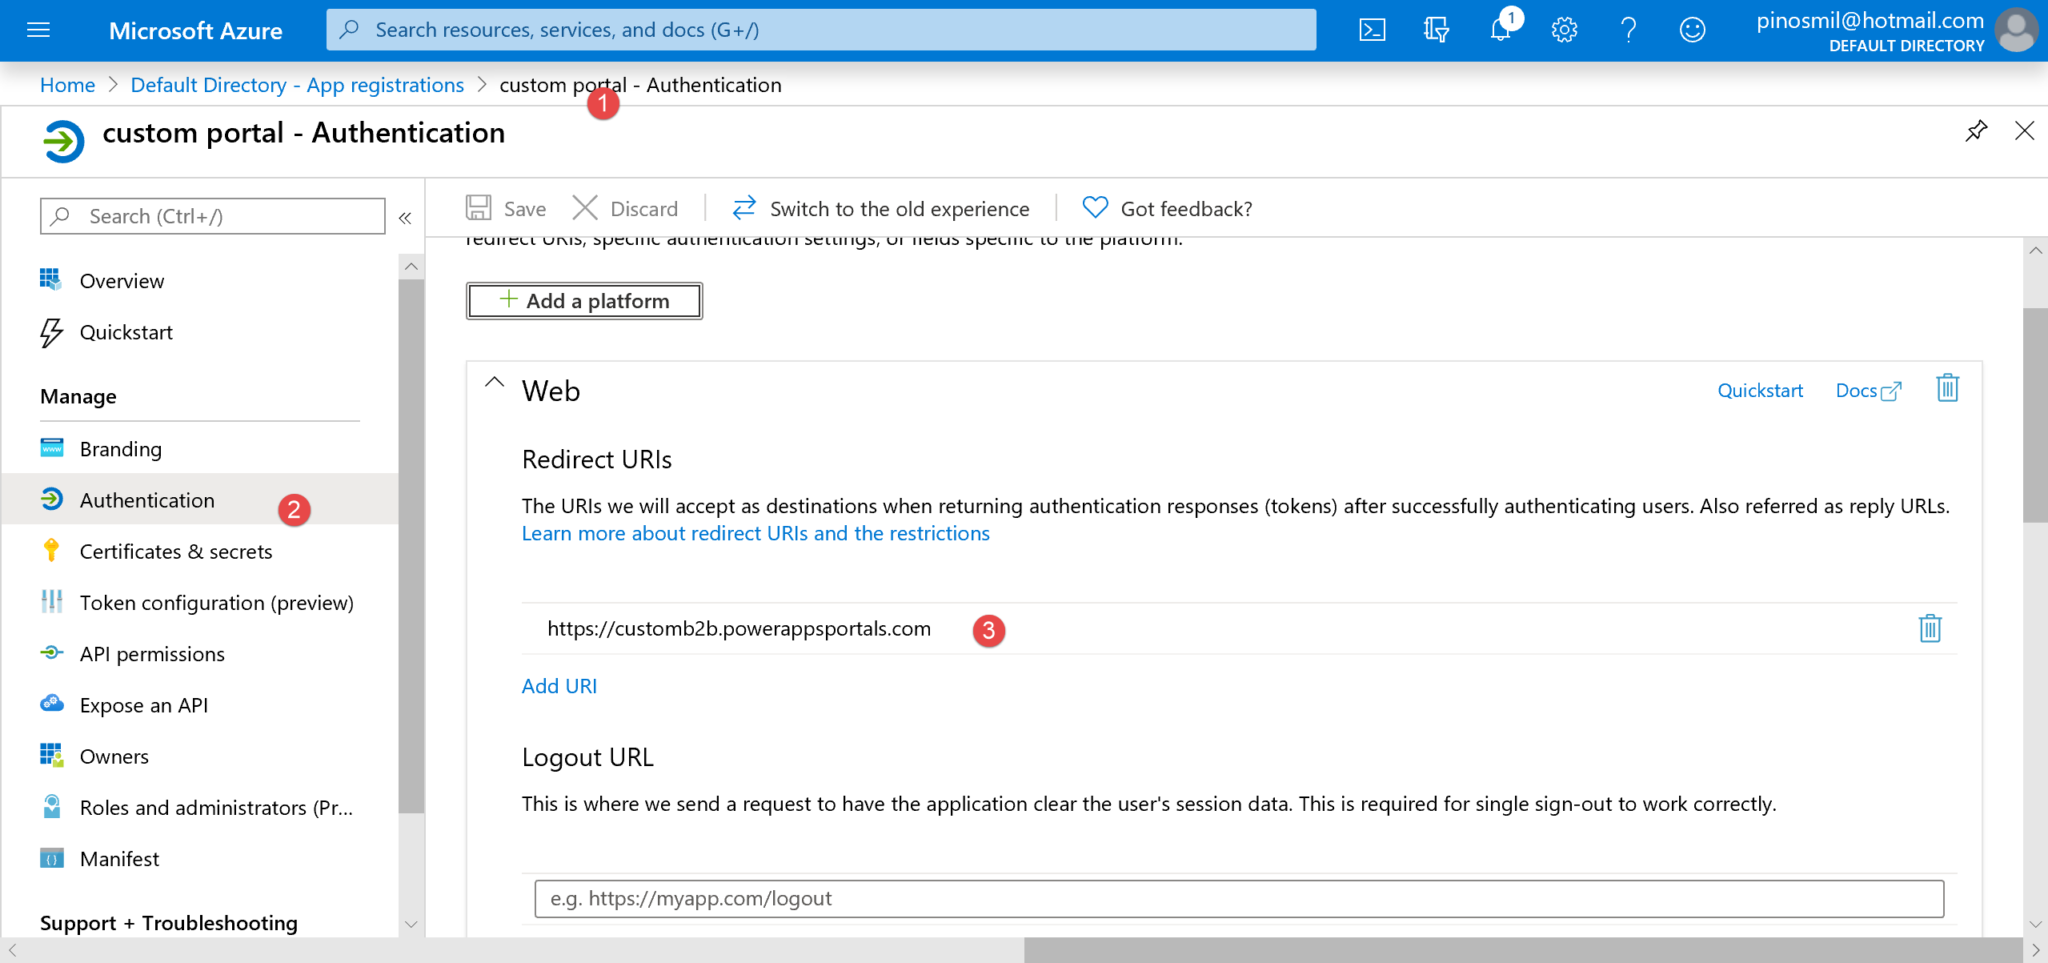
14. Make sure the redirect URI is set up to your portal. Navigate to App Registrations > Your App > Authentication (2), and Redirect URIs (3).
Note: Those users might have to be created from scratch as guests before we add them to the application.
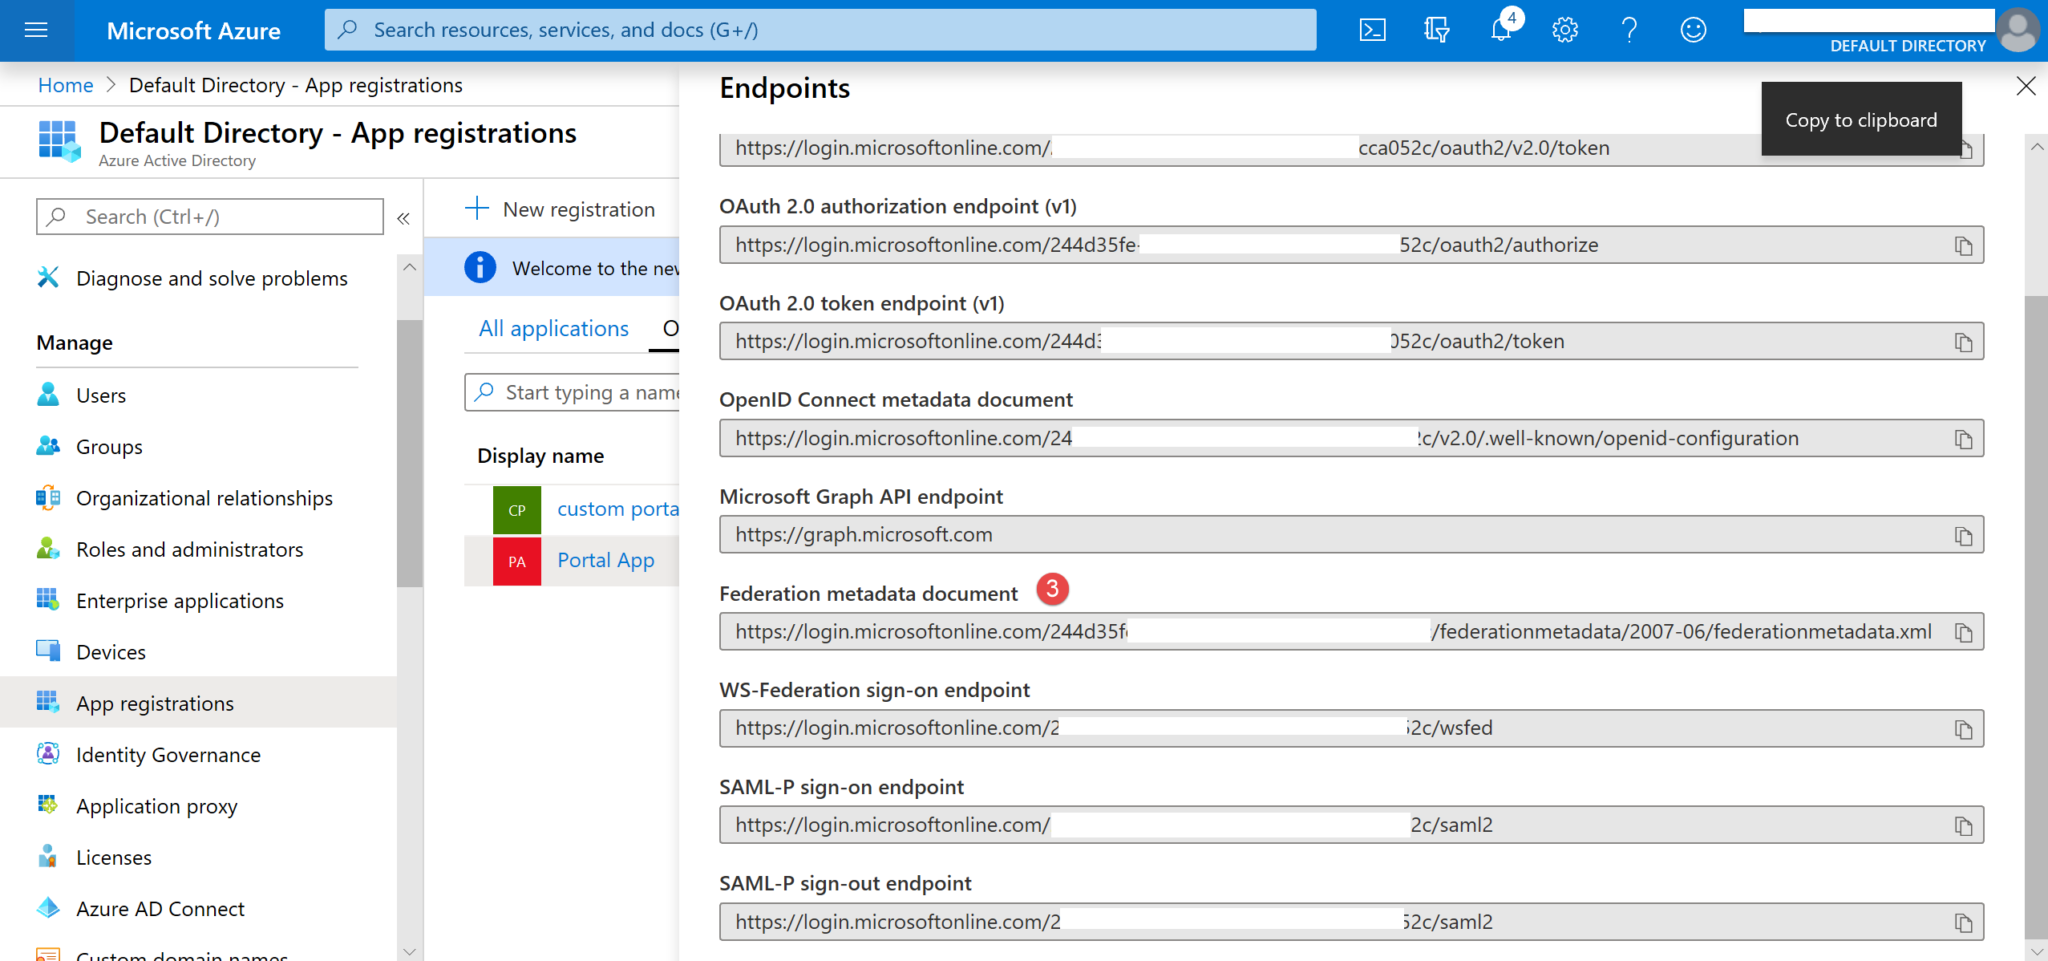
1. Get the url that will be needed from the Federation Metadata Document to insert as the value on Site Setting. Navigate to App registrations > Endpoints (1,2) and look out for the Federation metadata document URL (3).
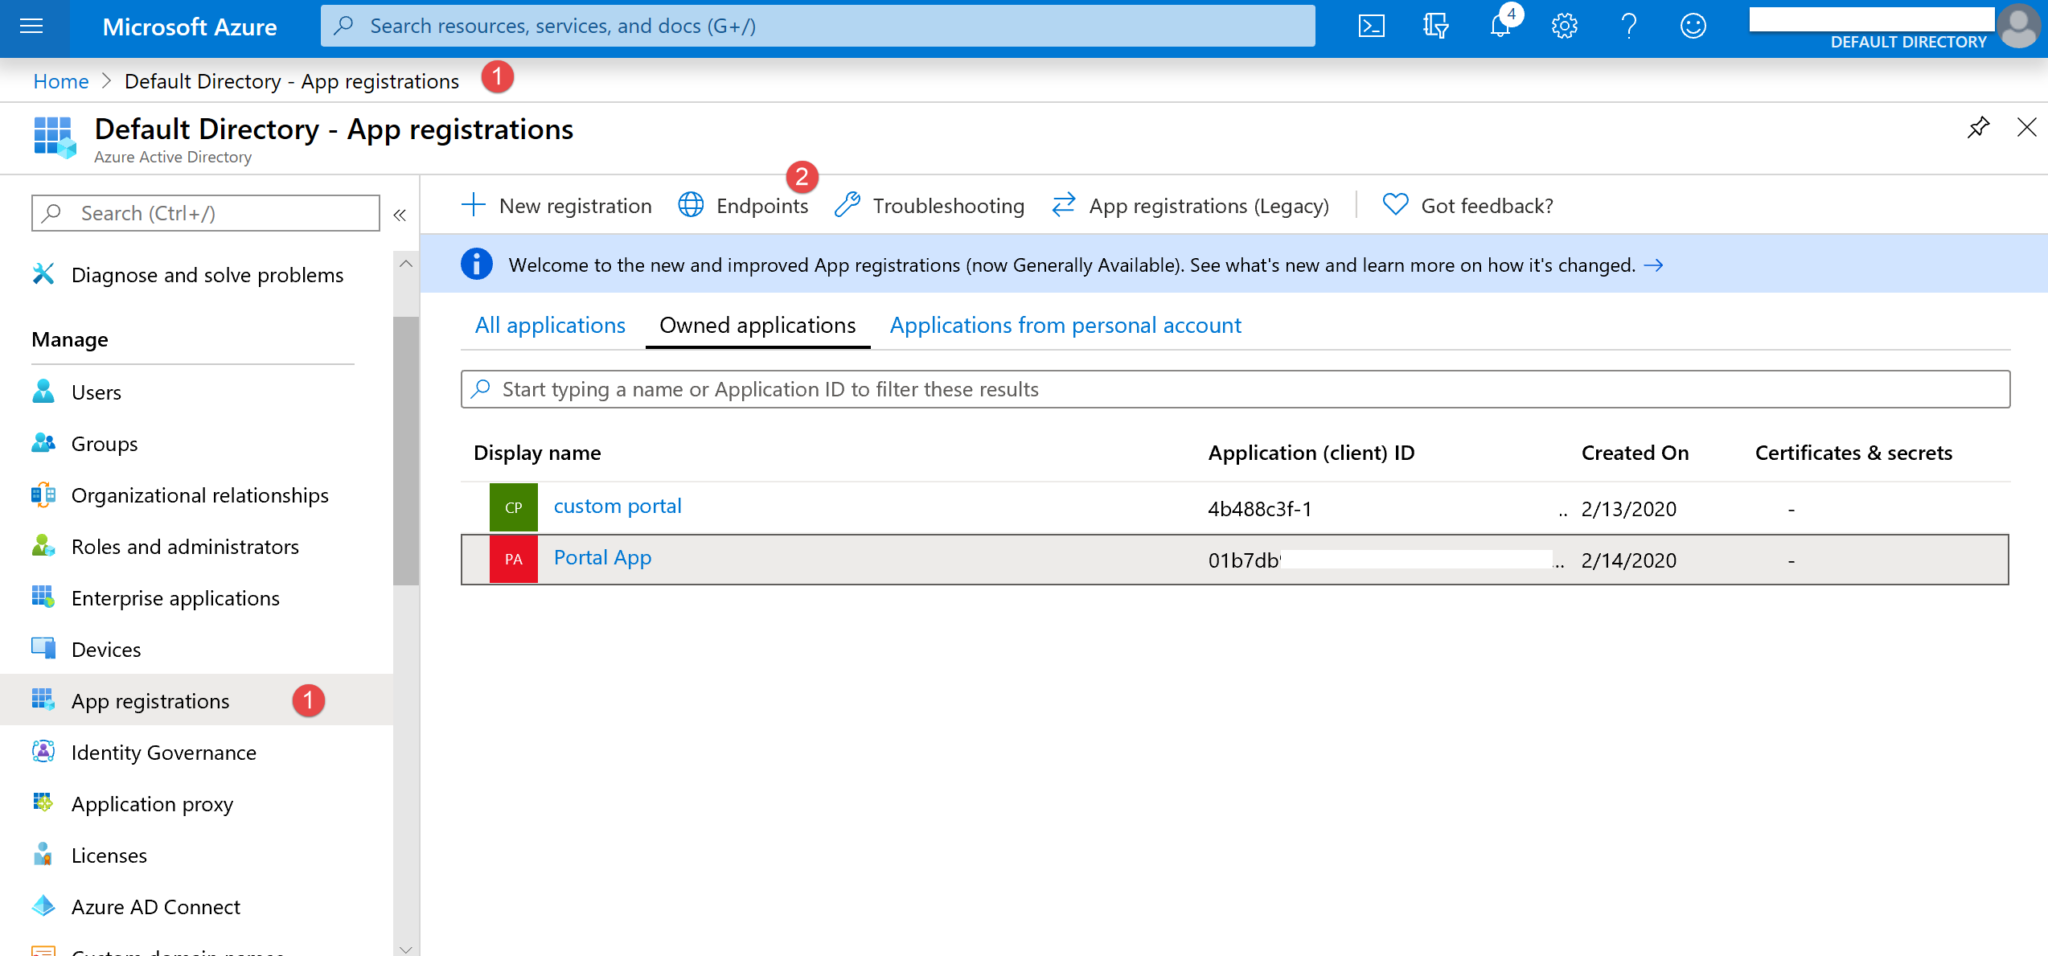
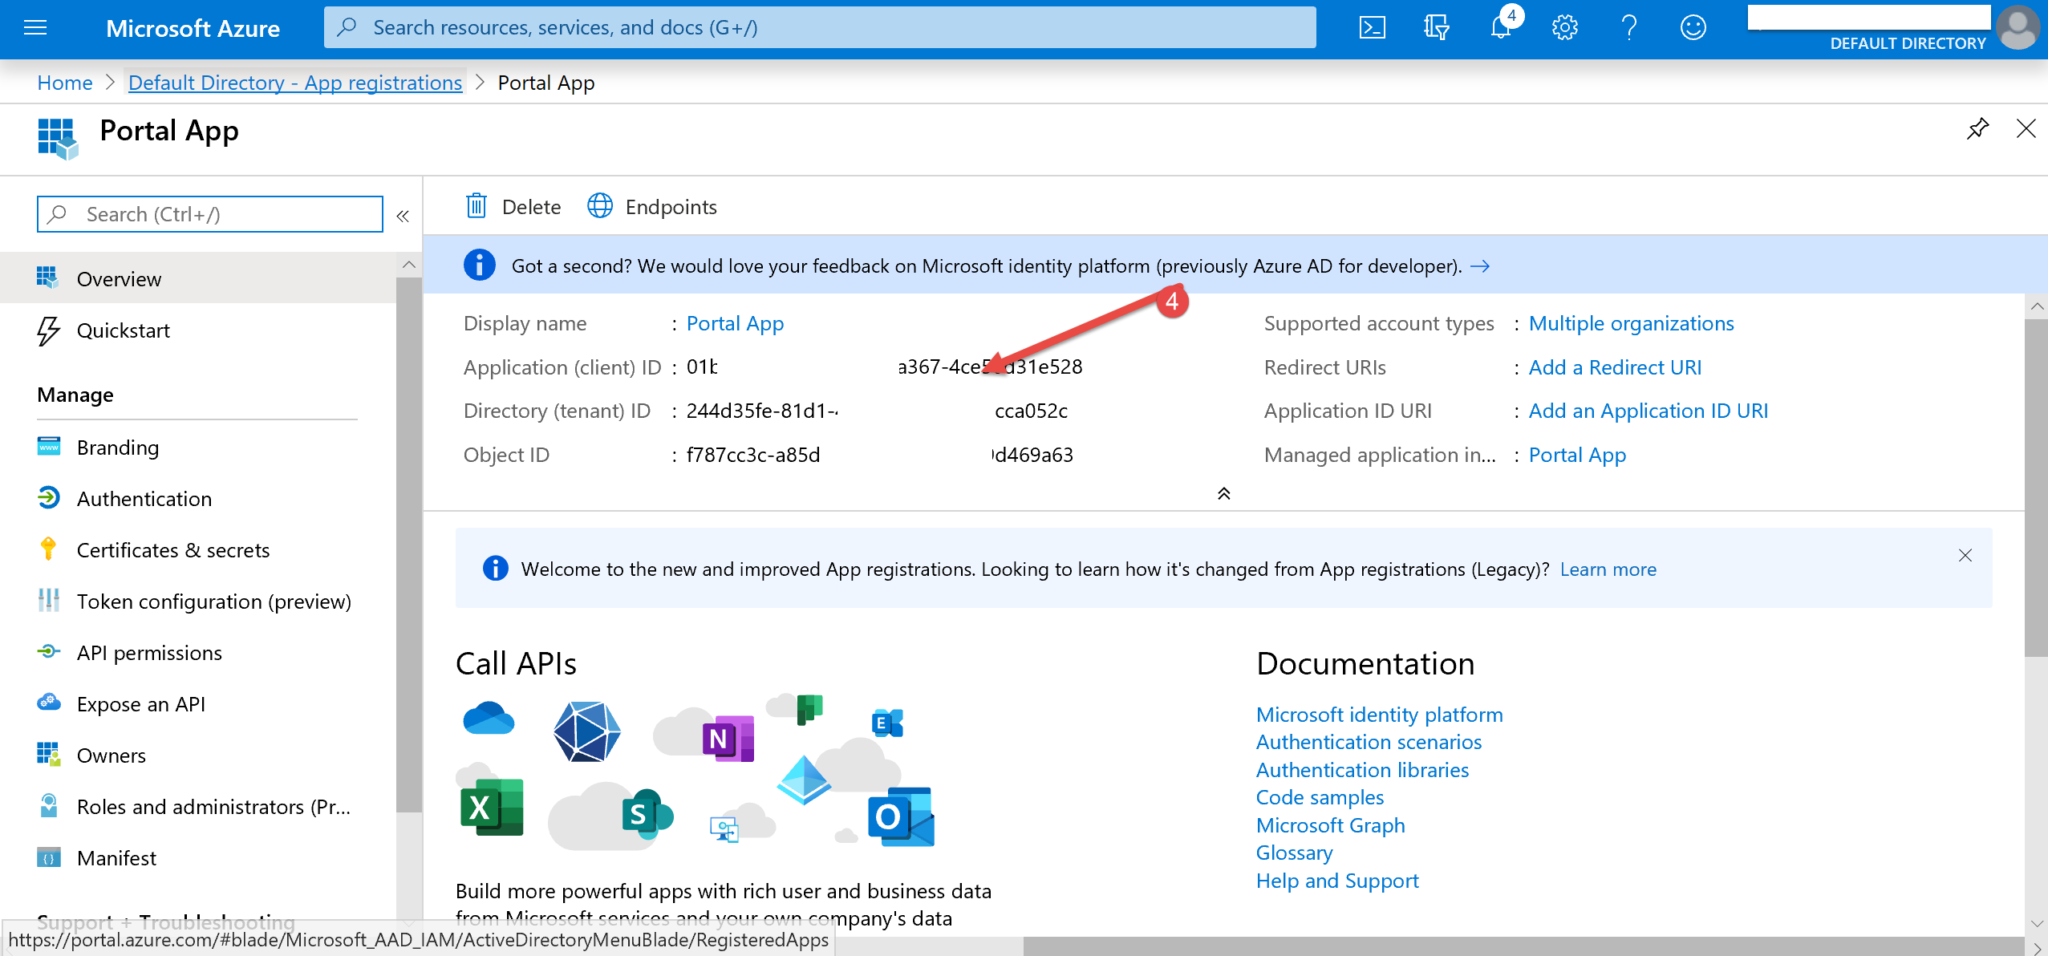
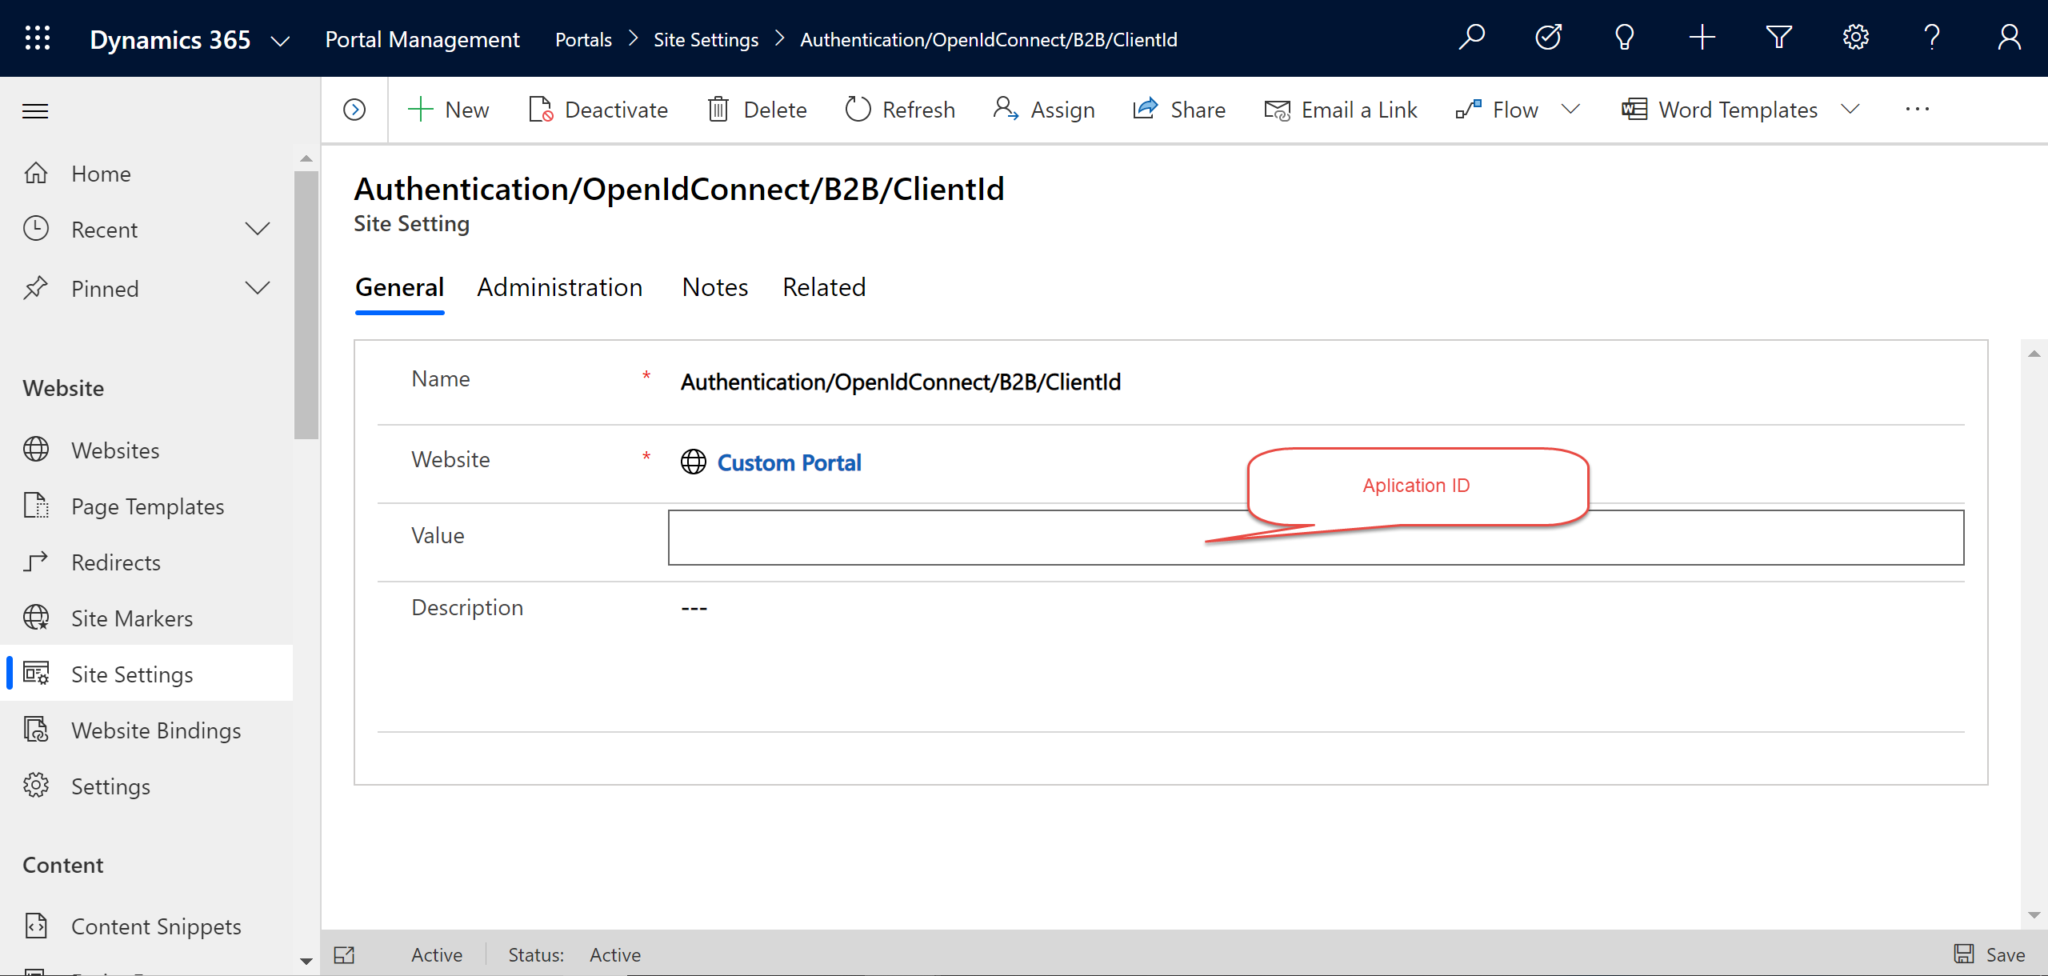
2. Get the Application (client) ID that will be used for Site Setting. Click on the required App and get the Application (client) ID (4).
3. Navigate to Site Settings in the Model Driven Portals app to create the necessary Site Settings. These steps are not needed to set up users or the Application in Azure. Using the + New button, create three Site Settings with the names and values shown below.

Site Setting 1:
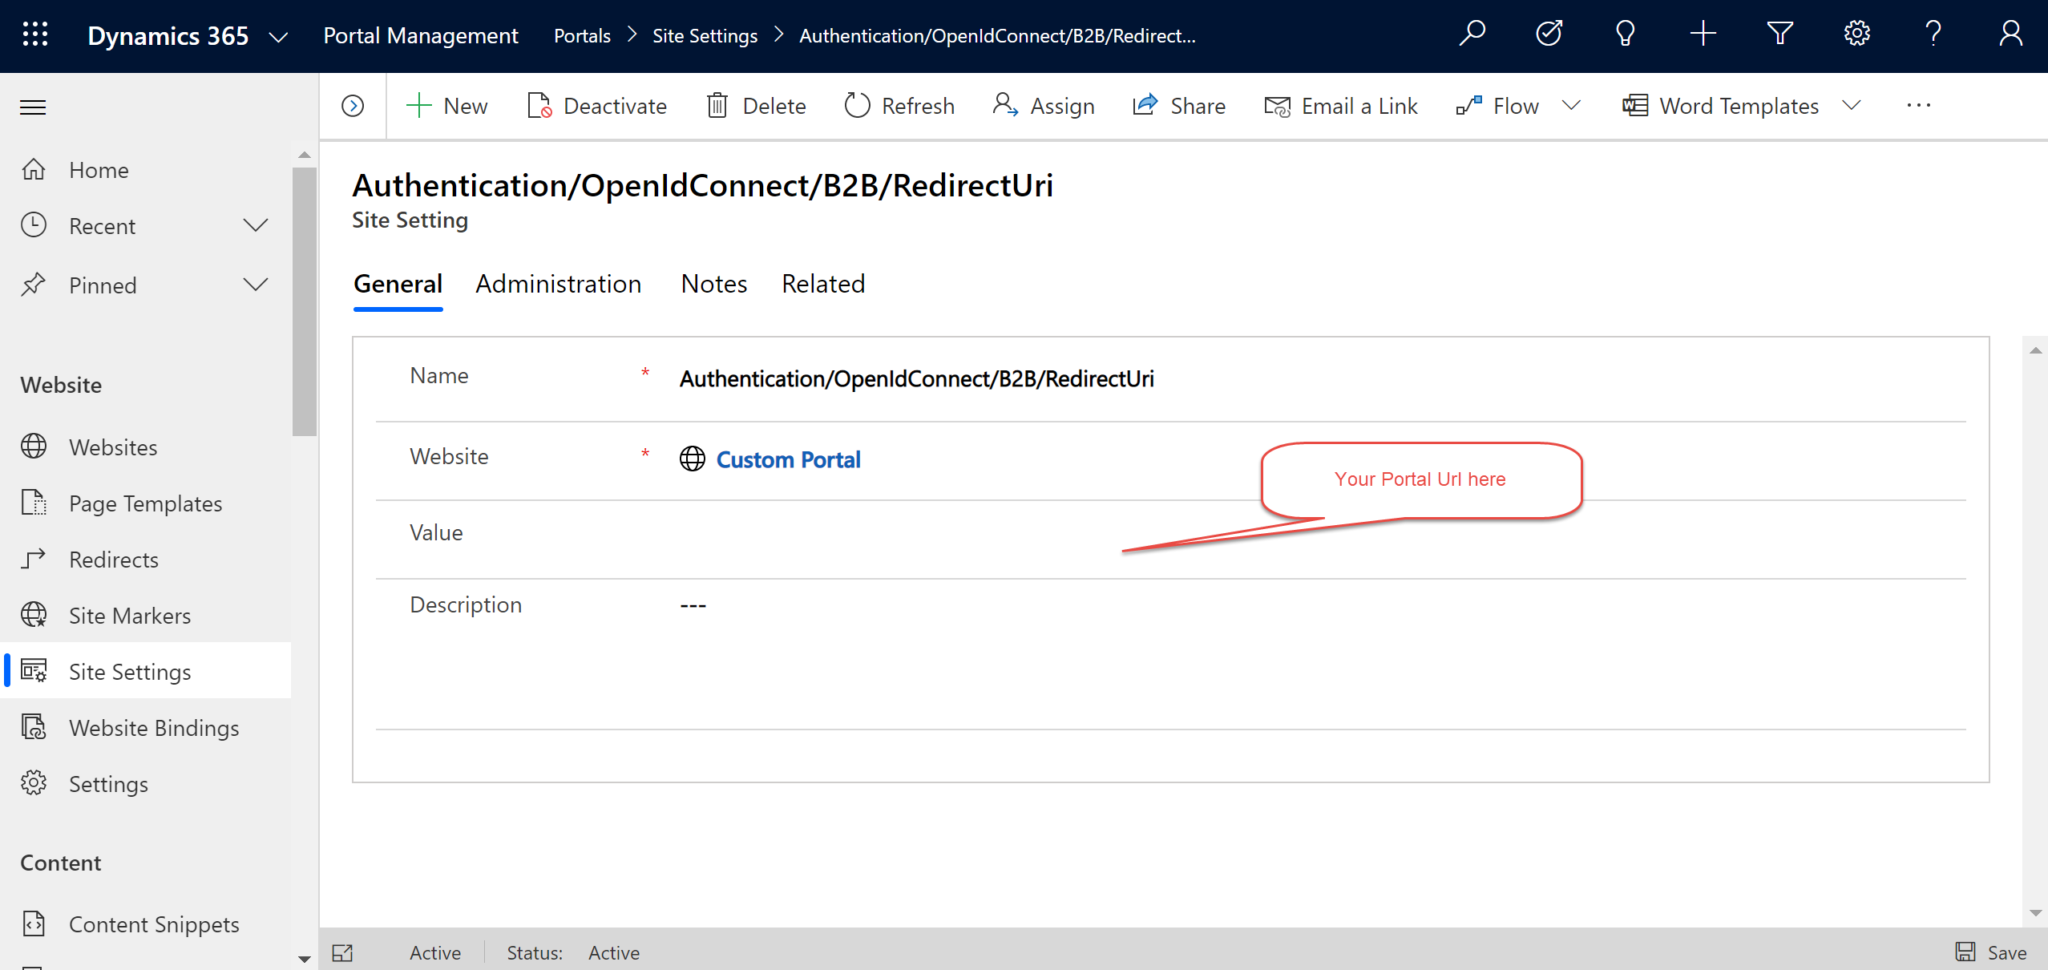
Site Setting 2:
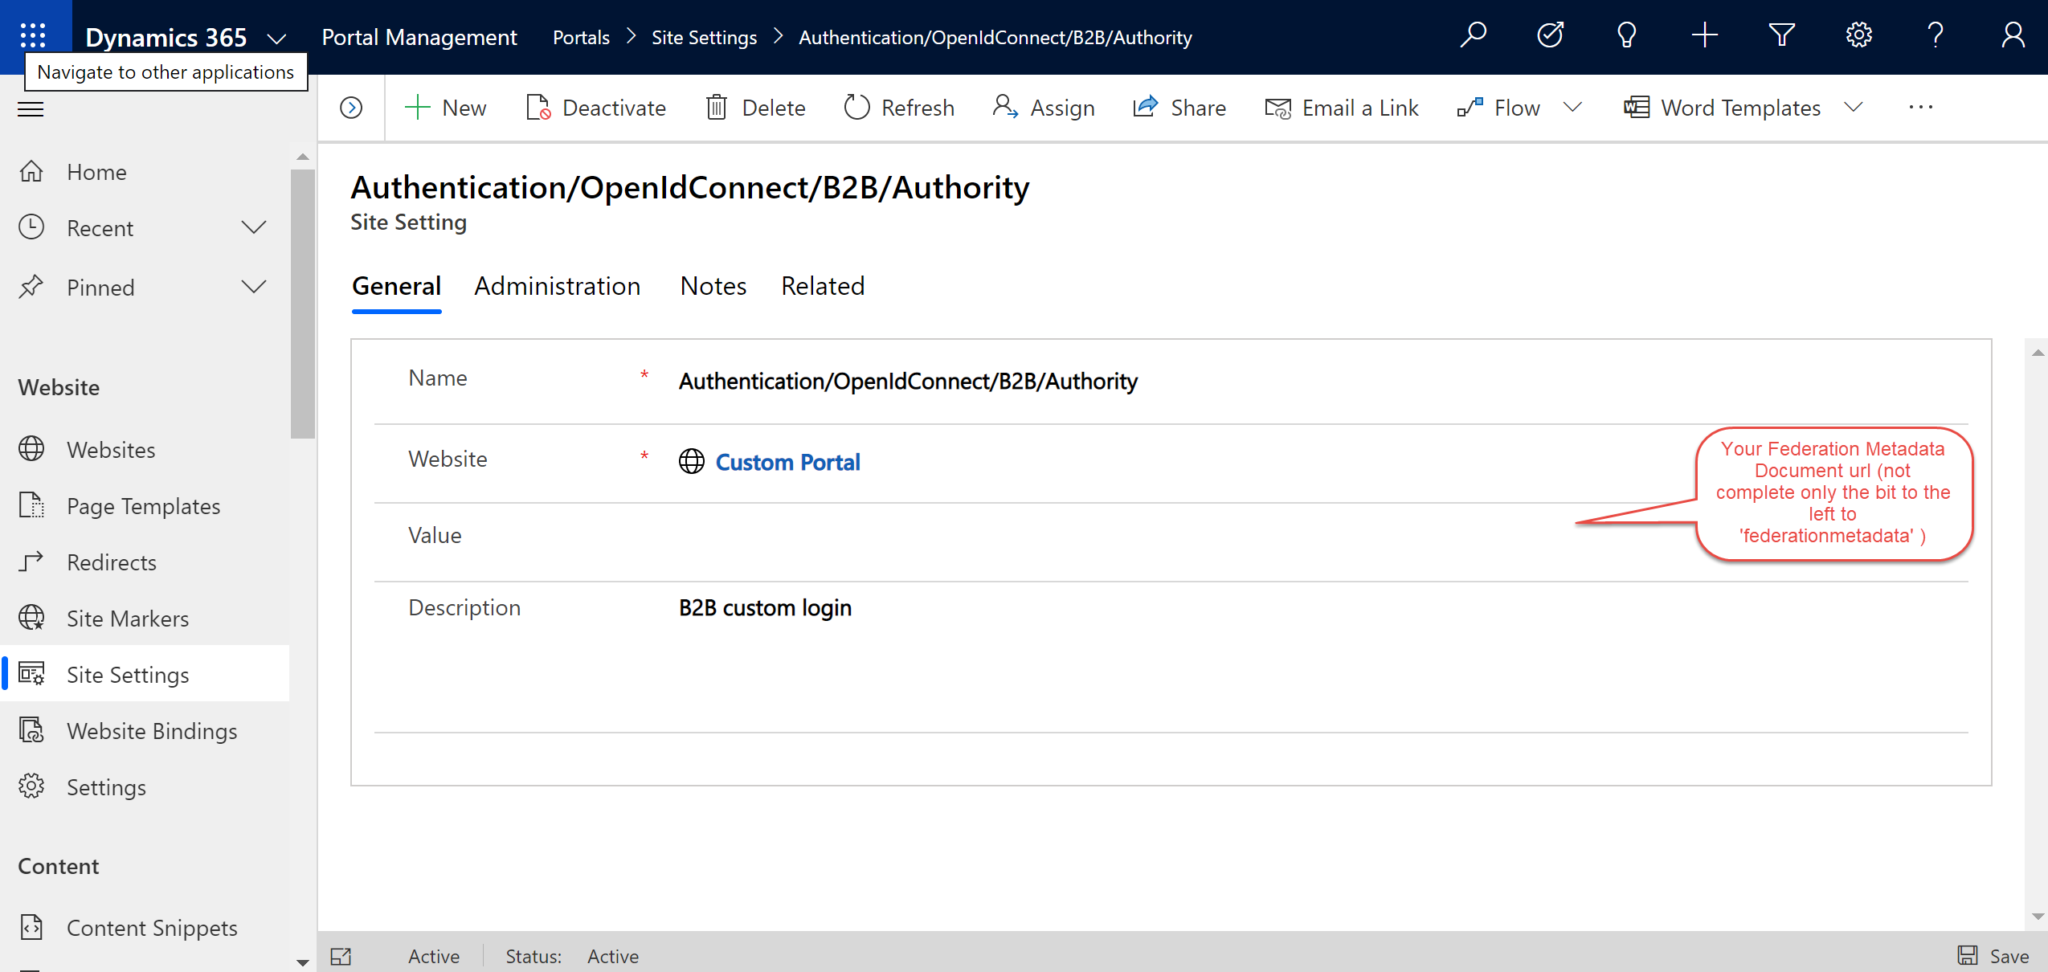
Site Setting 3:
1. Navigate to the Portal Sign in page and a new button should be available (B2B in this case).

2. If it is required to create a SSO experience, a new Site Setting has to be used:
Authentication/Registration/LoginButtonAuthenticationType where value has to {authenticationprovider}{applicationID}
Example: https://login.microsoftonline.com/xxx01c3b-xxxx-470f-a1c2-728b3xxxxxxx
There you have it! Happy Power Apps'ing!


