
How Microsoft Power Platform is helping to modernize and enable...
In this webinar, our experts showcase a variety of demo use cases of how different components of the...
When a business implements Dynamics 365, one of the most critical elements of success is user adoption. One unique and simple way of enhancing user adoption is to modify the icons within CRM to make things more user-friendly and familiar.
In today’s blog, we’ll cover the simple ways to update icons and personalize them to create a more relatable experience within your v9 and later version of your CRM, mixed with a few tips on how to customize your icons if you are on a later version as well. Updating the look and feel of things can be scary, but with the customized icon option it can offer the move with a lot less stress.
There are several sites from which to pull icons; we recommend Syncfusion Metro Studio: https://www.syncfusion.com/downloads/metrostudio. It offers more than 7,000 icons broken down by category, and it is completely free when you sign up using your email.

When you find the icon you want, click and save the icon to your computer, then load it into a program of choice to resize the image to 32px by 32px.

Open Dynamics 365 and navigate to Settings > Solutions. Once there, double click to expand the Entities tab and open the custom entity for which you wish to create the icon.

Click the Update Icons button on the top of the screen.

If you are not in Dynamics 365 v9 or later, you will see the following image which is missing the key tab (workaround is below):
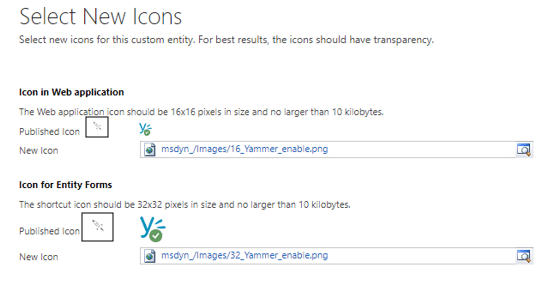
You will notice that the Web application section on the top requires a 16px image and the Entity Forms section requires a 32px image in order to properly fit the new icon into the appropriate space. In v9 and later, you will notice there is one additional tab as shown here:
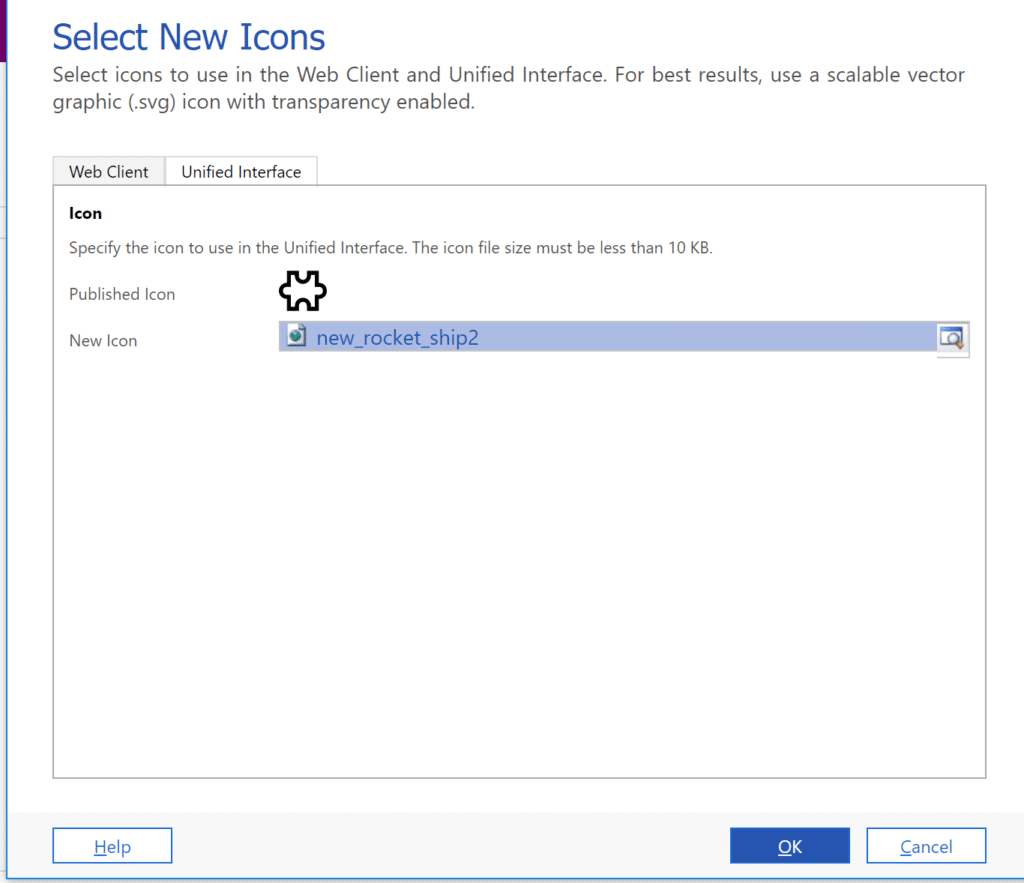
To be clear, when you are in version9 you will need to upload your custom icon in all three locations. Finally, search for Web Services in your solution and upload the image in the image below:
![]()
There you have it! If you see the generic icon inside your solution, it means your icon size does not match the required dimensions.
As mentioned at the beginning, this is a great way to bring customization to your CRM and help your users feel more comfortable with the change brought about by a new implementation. Happy D365’ing!


