
How Microsoft Power Platform is helping to modernize and enable...
In this webinar, our experts showcase a variety of demo use cases of how different components of the...
This is the second in a series of blogposts devoted to Dynamics 365 Business Central. Specifically, it’s the second in two-part series on integrating Business Central with Dynamics 365 for Customer Engagement (CE). In the coming days and weeks, we’ll cover the integration with Microsoft Outlook and even some known issues and workarounds with that integration. In today’s post, we’ll finish our discussion on the integration between Dynamics 365 CE and Business Central.
Business Central Integration with Dynamics 365 for Customer Engagement
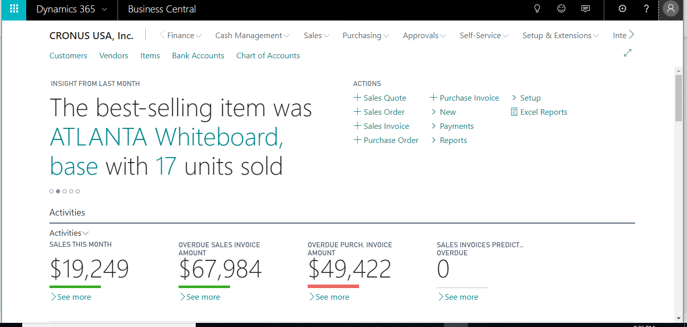
Login to Business central using your Integration user credentials:
Click on Search and type 365:
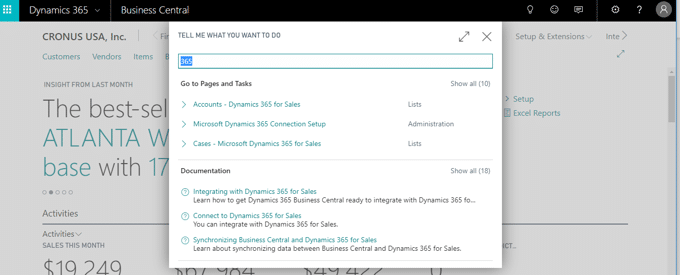
If you don’t see the Microsoft Dynamics 365 Connection Setup Page, you need to change the User Experience to Premium first.
Search for Company Information instead and click on it. Scroll down to the User Experience fast tab and change it to Premium. Refresh your browser and search once more for 365.

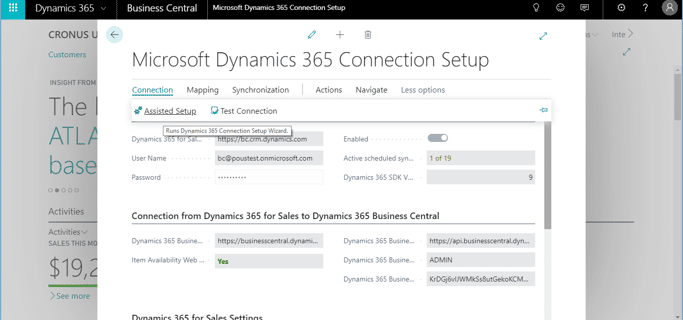
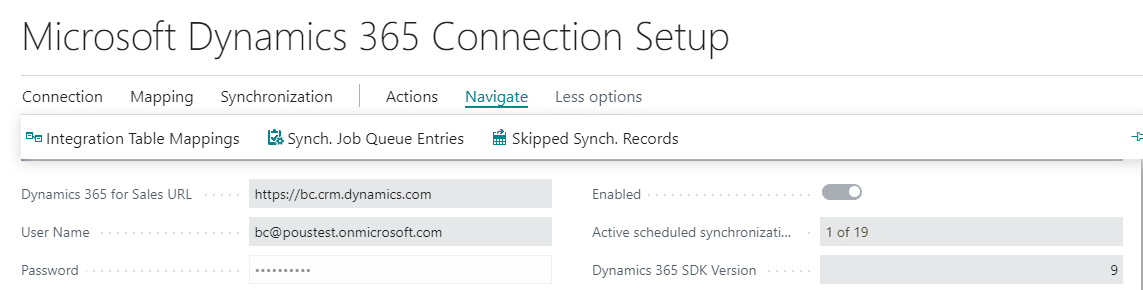
Click Microsoft Dynamics 365 Connection Setup > Assisted Setup.
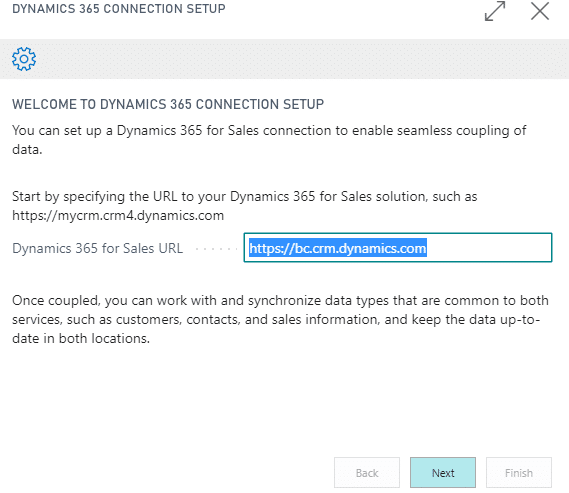
Paste the Dynamics 365 for Sales URL and click Next.
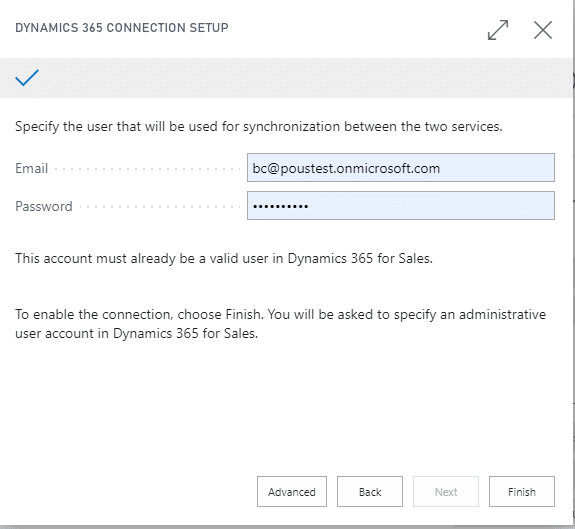
The connection setup is to specify the user for the synchronization between the two services. Enter the integration user and click Finish.
The next window will prompt you to enter the admin user. Do so and click OK. The system will work on getting this connection ready. You can choose to map Salespeople at this point, or you can leave it for later.
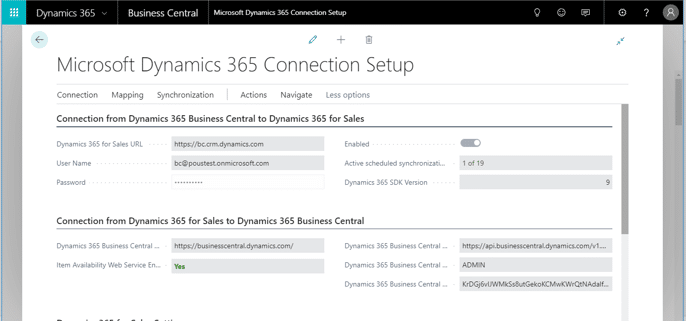
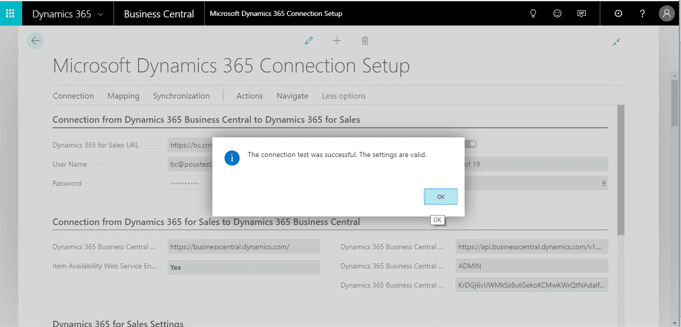
Everything is set to this window; this is where we will see Dynamics 365 for CE URL, integration user, the active scheduled synchronization jobs, etc. Additionally, you can find some other important buttons in the toolbar, like Mapping and Synchronization. Before you go further, click Test Connection. You should receive a success message.
A few important notes about Mappings.
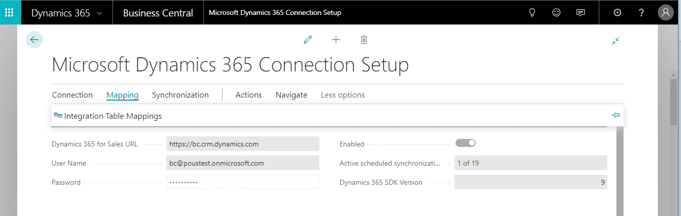
On the INTEGRATION TABLE MAPPINGS page, you can see the types of integration Synch. Job Queue Entries that are available. You cannot edit or create new. If you scroll to the right, you will see a column named SYNCH. ONLY COUPLED RECORDS, which matches data in both applications. In simple terms, if you have an Account in Dynamics 365 for Sales and the same Account exists in Dynamics 365 for Business Central, you probably want to couple them together to avoid having duplicates and mismatches.
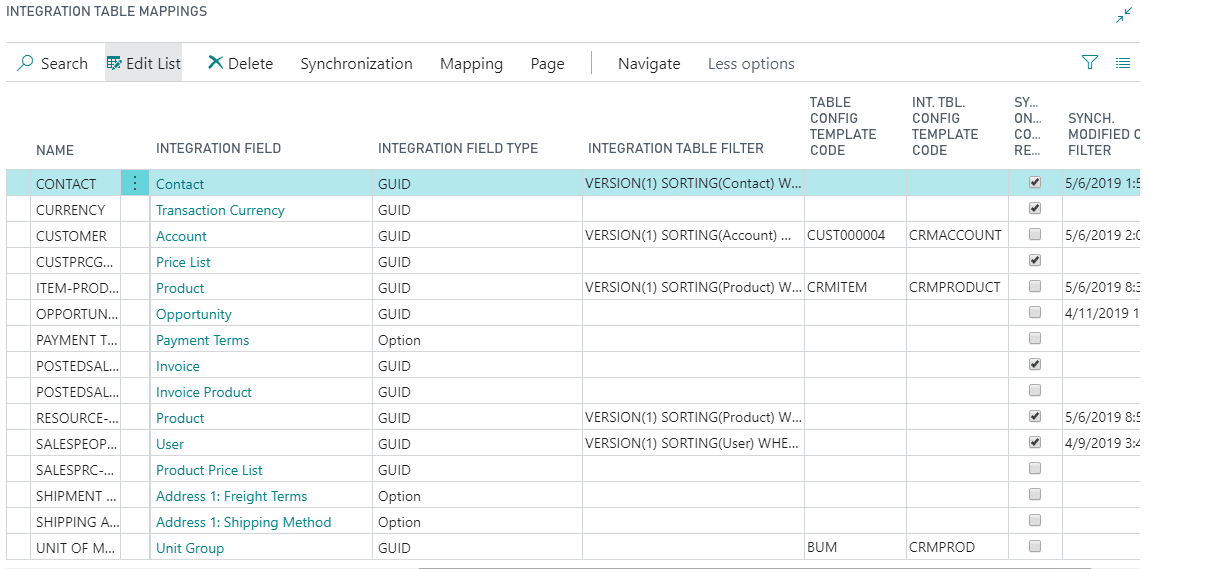
When this box is checked, it means you want to couple/synchronize only those that are matched. In other words, if you have an Account in one application and not in the other, it won't synch because It synchs only coupled records.
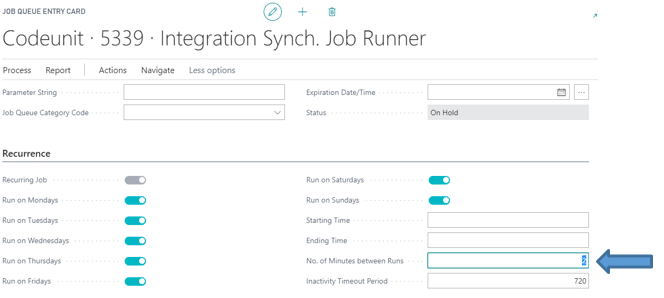
In Synch. Job Queue Entries, if integrations are scheduled to be run, the status will change to Ready.
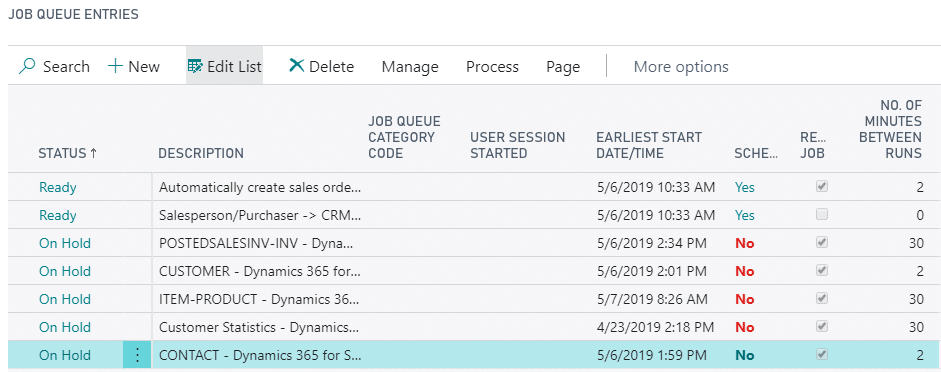
To the far right, there is a NO. OF MINUTES BETWEEN RUNS column, which you can change in two ways:
Go back to the INTEGRATION TABLE MAPPINGS page. Note that Contact and Customer are both directional. It means they can be sent and received in both applications.
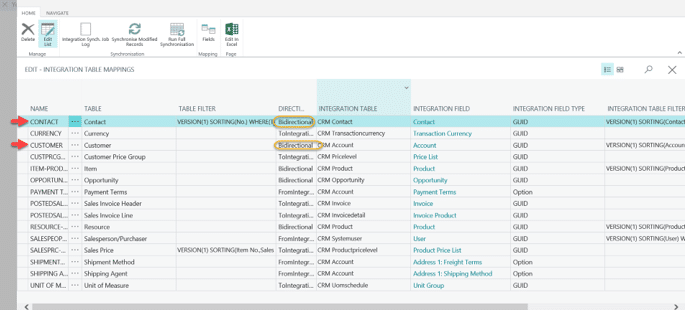
Let’s start with customers first:
In the integration mapping for Customer, there is one condition:
The system will not take all accounts from CRM; instead, it will take only active ones with Relationship Type set to Customer. Additionally, if you want to create customers in Dynamics 365 for Business Central automatically, you can use Customer Templates:
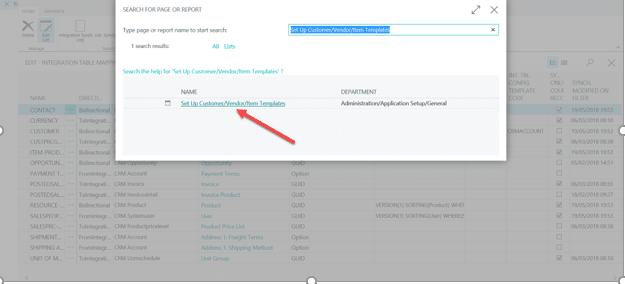
For this blog, we’ll just go ahead and create a new one. Search for Set Up Customer/Vendor/Item Templates.
In this example, we open the Business-to-Business Customer (Bank) template and click New.
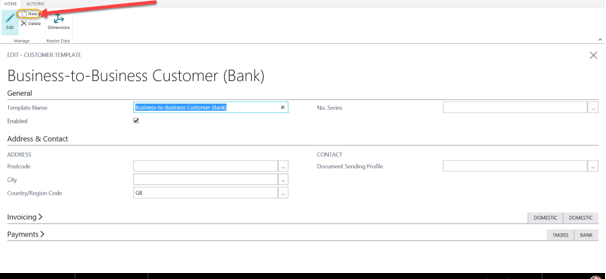
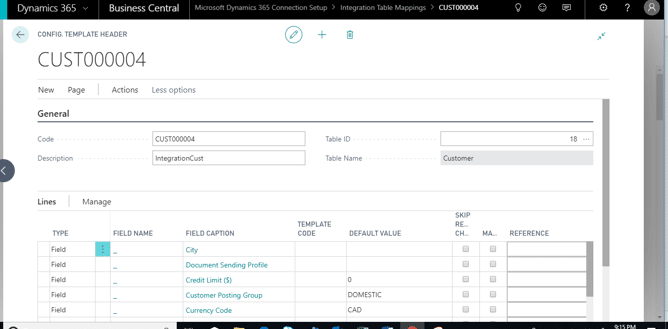
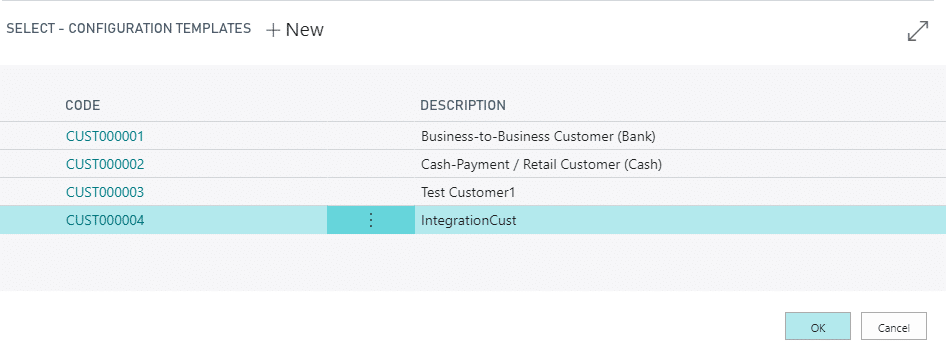
Press Esc and you can see the new one in the list:
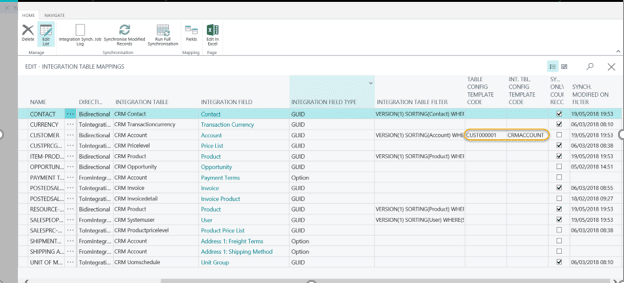
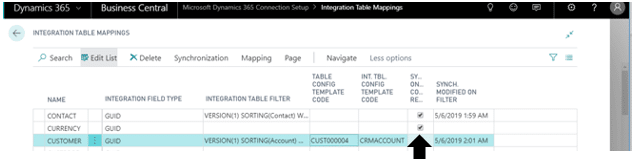
Go back to the INTEGRATION TABLE MAPPINGS page in the TABLE CONFIG TEMPLATE CODE field, as shown:
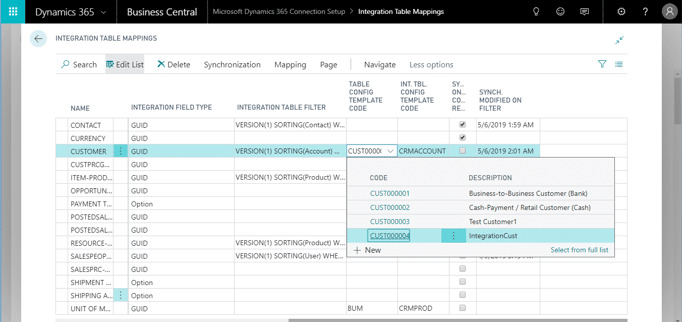
Additionally, in this scenario, we don't have customers in both applications that we want to couple. Therefore, we uncheck the box, as shown:
Now, let's check what we have in both applications before we activate synchronization:
Check Dynamics 365 for CE > Accounts and Dynamics 365 for Business Central > Customer. Now Synch. Job Queue Entries:
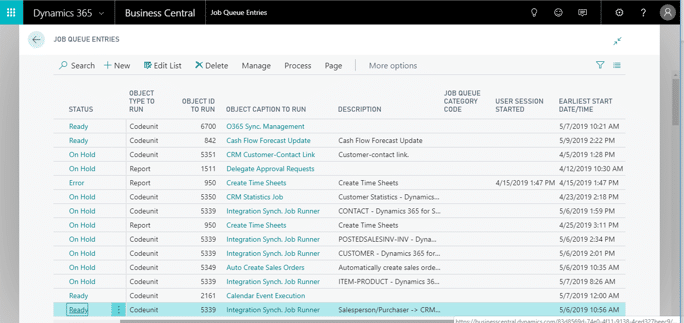
Set It to Ready, wait for a few moments and check the JOB QUEUE LOG ENTRIES page:
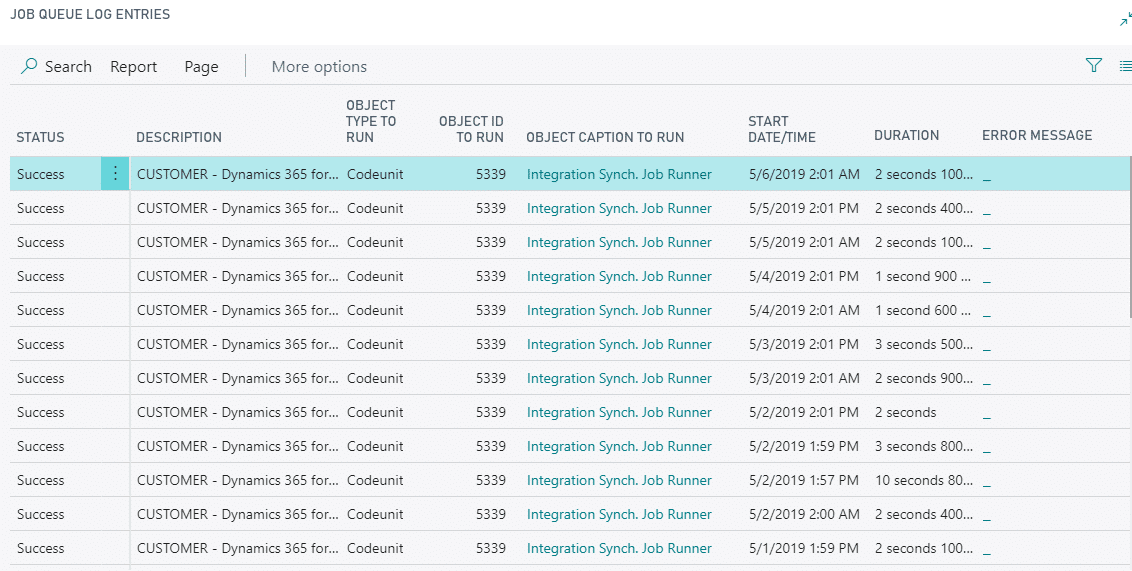
If the job has run successfully, you can check the customer list again. You should be able to see new customers coming through.

There you have it! We hope this was helpful. Don’t forget to subscribe to our blog for more!
Happy Dynamics 365’ing!


